Want a beautiful, crack free, strong walls for your new home?
by Babu George
Originally published on September 28, 2024, 8:37 pm, updated on January 19, 2025
scroll downA Comprehensive Guide to advantages of external wall plastering with Polymer Modified Cement Plaster.
Introduction:
Wall plastering, a fundamental process in construction, involves applying a cementitious or gypsum-based material to a wall surface. It serves both aesthetic and functional purposes, enhancing the appearance of the wall and providing a smooth, even surface for painting, tiling, or other finishes.

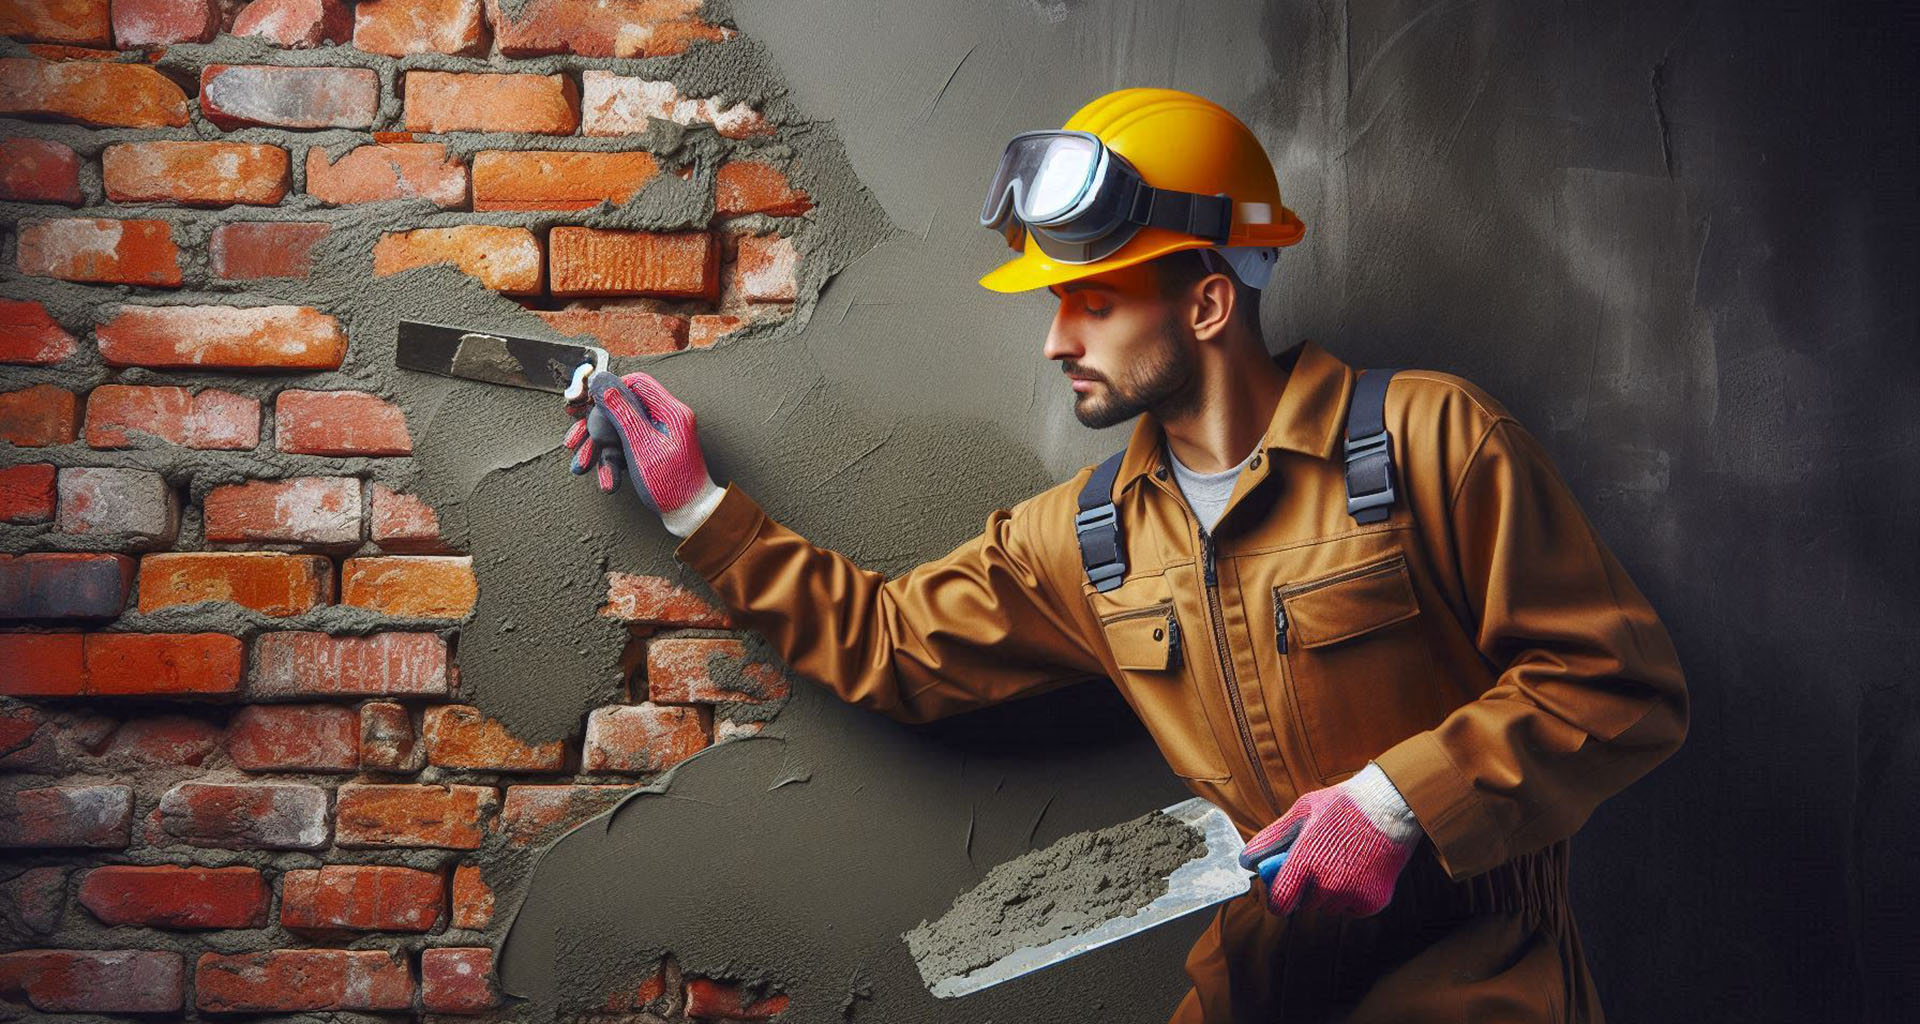
Cement Sand Wall Plastering in progress on a brick wall | AI Generated Image
Purpose of Plastering
Wall Plastering being a crucial finishing process applied to masonry and concrete surfaces before painting, serves multiple purposes:
- Protection: Shields surfaces from external elements like moisture, temperature fluctuations, and pollutants.
- Damp Proofing: Acts as a barrier against moisture penetration, preventing damage and mold growth.
- Durability: Enhances the longevity and structural integrity of the surface.
- Smooth Finish: Provides a level surface for painting or other finishes, ensuring a uniform appearance.
If plastering is not executed correctly, it may fail to achieve these objectives, compromising the overall quality and durability of the finished surface.
Also Watch Video: How to Avoid Capillary Rise During Residential Construction
Types of Wall Plastering
-
Cement Plaster:
This traditional method uses a mixture of cement, sand, and water. It’s known for its durability, cost-effectiveness, and suitability for both interior and exterior walls.
-
Gypsum Plaster:
Made from gypsum, this type is lightweight, fire-resistant, and dries quickly. It’s often used for interior walls and ceilings, especially in areas with high humidity.
-
Polymer-Modified Plaster:
This innovative type incorporates polymer additives, enhancing its strength, durability, and water resistance. It’s ideal for exterior walls, as it can withstand harsh weather conditions.
Also Read Article: How to Prepare a Roof Surface Before Applying a Waterproofing Coating
Components of Cement Plastering
Cement:
For plastering, blended cements like Portland Pozzolana Cement (PPC) or Portland Slag Cement (PSC) are commonly used due to their environmental friendliness and superior performance compared to Ordinary Portland Cement (OPC). Composite cements, a comparatively recent market introduction, offer similar benefits and are ideal for plastering applications.
Sand:
Sand used for plastering should be clean, well-graded, and free from impurities. It should contain minimal amounts of clay, silt, and dust (less than 5%). For smooth finishes, sand with particles smaller than 2.36mm is preferred, while rough and textured finishes require sand between 4.75mm and 2.36mm. Sieving can help achieve the desired grain size.
Due to the scarcity of natural river sand, Crushed Stone Sand (CSS) has gained popularity. Contrary to common belief, CSS often exhibits better water retention, leading to improved strength and bond development.
Sand Grading:
The particle size grading of sand for plasterwork [from 10mm to 150 microns] should adhere to the standards outlined in IS 1542:1992(Reaffirmed 2003). This applies to both internal and external walls as well as ceilings.
Water:
Water used for mixing cement mortar should be clean, clear, and free from impurities that can weaken the mortar or cause efflorescence. Potable quality water with a pH between 6 and 8 is recommended. After the plaster has hardened, it should be cured with water of similar quality.
Also Watch Video: Preventing Slip and Fall Accidents with Anti-Skid Floor Treatment
The Importance of Proper Surface Preparation
Before applying plaster, a solid foundation is essential. This involves preparing the wall surface by removing loose materials, filling cracks, and applying a primer. A well-prepared surface ensures optimal adhesion and prevents future problems like peeling or cracking.
Plastering Application Process
Base Coat Application
The base coat, the first layer of plaster, provides a sturdy foundation for the finishing coat. It’s typically applied using a trowel or a mechanical sprayer. The thickness of the base coat depends on the desired finish and the wall’s condition.
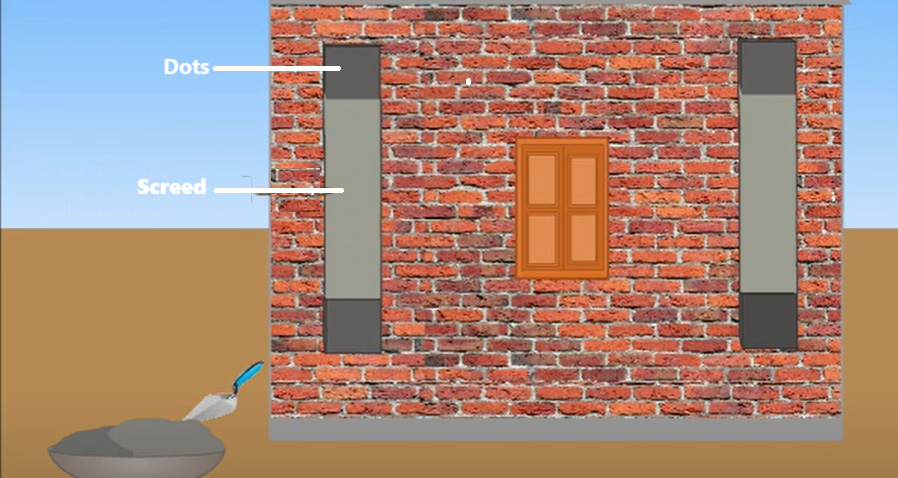
Base Coat Preparation with Dots & Screeds

Dots and Screeds | Image Courtesy: 3DM Experiment
-
Dots:
To ensure uniform plaster thickness, dots (15cm x 15cm patches, approximately 10mm thick) are applied to the wall surface at regular intervals (2 meters apart horizontally and vertically). The dots are used as reference points for maintaining evenness.
-
Screeds:
They are vertical plaster strips formed between the dots, serving as guides for maintaining consistent thickness during plaster application.
Cement Plaster Application
Cement plaster is typically applied in one or two coats, depending on the desired thickness (12mm, 15mm, or 20mm) and the surface undulations. For thicknesses exceeding 15mm, two coats are recommended.
Coating Sequence
-
Rendering/Scratch Coat:
The first undercoat, applied 10-15mm thick, provides a roughened surface for mechanical bonding with the subsequent coat. It’s essential to keep the surface wet until the finishing coat is applied.
-
Floating/Base Coat:
The second undercoat, applied 3-8mm thick, creates a smooth and even surface. It also requires a roughened finish for proper bonding.
-
Finishing Coat:
The final coat, typically 2-3mm thick, is applied using wooden floats and a steel trowel for a smooth finish. It should be applied in one continuous operation from top to bottom to avoid joint marks.
Also Read Article: 5 Crucial Waterproofing Issues to Look for Before Repainting Your Home
Ceiling Plaster and Other Considerations
- Ceiling Plaster: Ceiling plaster should be completed before wall plastering.
- Putlog Holes: Fill putlog holes as scaffolding is dismantled to ensure a smooth finish.
- Corner Angles: Maintain true vertical or horizontal angles and carefully finish corners.
- Rounding and Chamfering: Use templates for accurate rounding or chamfering of corners and junctions.
- Daily Completion: End daily plastering work with clean, straight lines both horizontally and vertically.
- Parapet and Coping Joints: Strategically avoid horizontal joints on parapet tops, beam-masonry joints and copings to prevent water seepage in future.
Additional Info:
- Dampness: Each coat should be kept damp until the subsequent coat is applied.
- Timing: Coats should be applied within 48 hours of the previous coat.
- Joint Avoidance: Avoid joints in the finishing coat.
- Cement-Sand Ratio: For finishing coats, use a cement-sand ratio between 1:4 and 1:6.
- Concrete Walls: On smooth concrete walls, apply the rendering coat using a dashing technique to ensure adequate bonding.
By following these guidelines and techniques, you can achieve high-quality plastering that enhances the durability, appearance, and functionality of your walls and ceilings.
Also Watch Video: UniPro Home Repair and maintenance – waterproofing services
Finishing Coat Application
The finishing coat determines the final appearance of the wall. It can be applied using various techniques, including trowelling, floating, and stippling. The choice of technique depends on the desired finish, whether smooth, textured, or decorative.
Curing and Drying
After application, the plaster needs to cure and dry properly. This process involves maintaining a suitable humidity and temperature to allow the plaster to harden. Improper curing can lead to cracking or other defects.
Finishing Techniques
-
Smooth Finish:
This classic finish provides a smooth, even surface, ideal for painting or wallpapering.
-
Textured Finish:
Using techniques like stippling or troweling, textured finishes add depth and visual interest to walls.
-
Decorative Finishes:
For a more artistic touch, decorative finishes like Venetian plaster or stucco can create unique patterns and effects.
Also Read Article: Toilet Floor Waterproofing without Breaking Tiles: A Three-Tiered Approach
Polymer-Modified Plaster: A Modern Advance
Polymer-modified plaster has revolutionized the industry with its superior performance. It offers enhanced durability, water resistance, and strength, making it an excellent choice for exterior walls and areas prone to moisture.

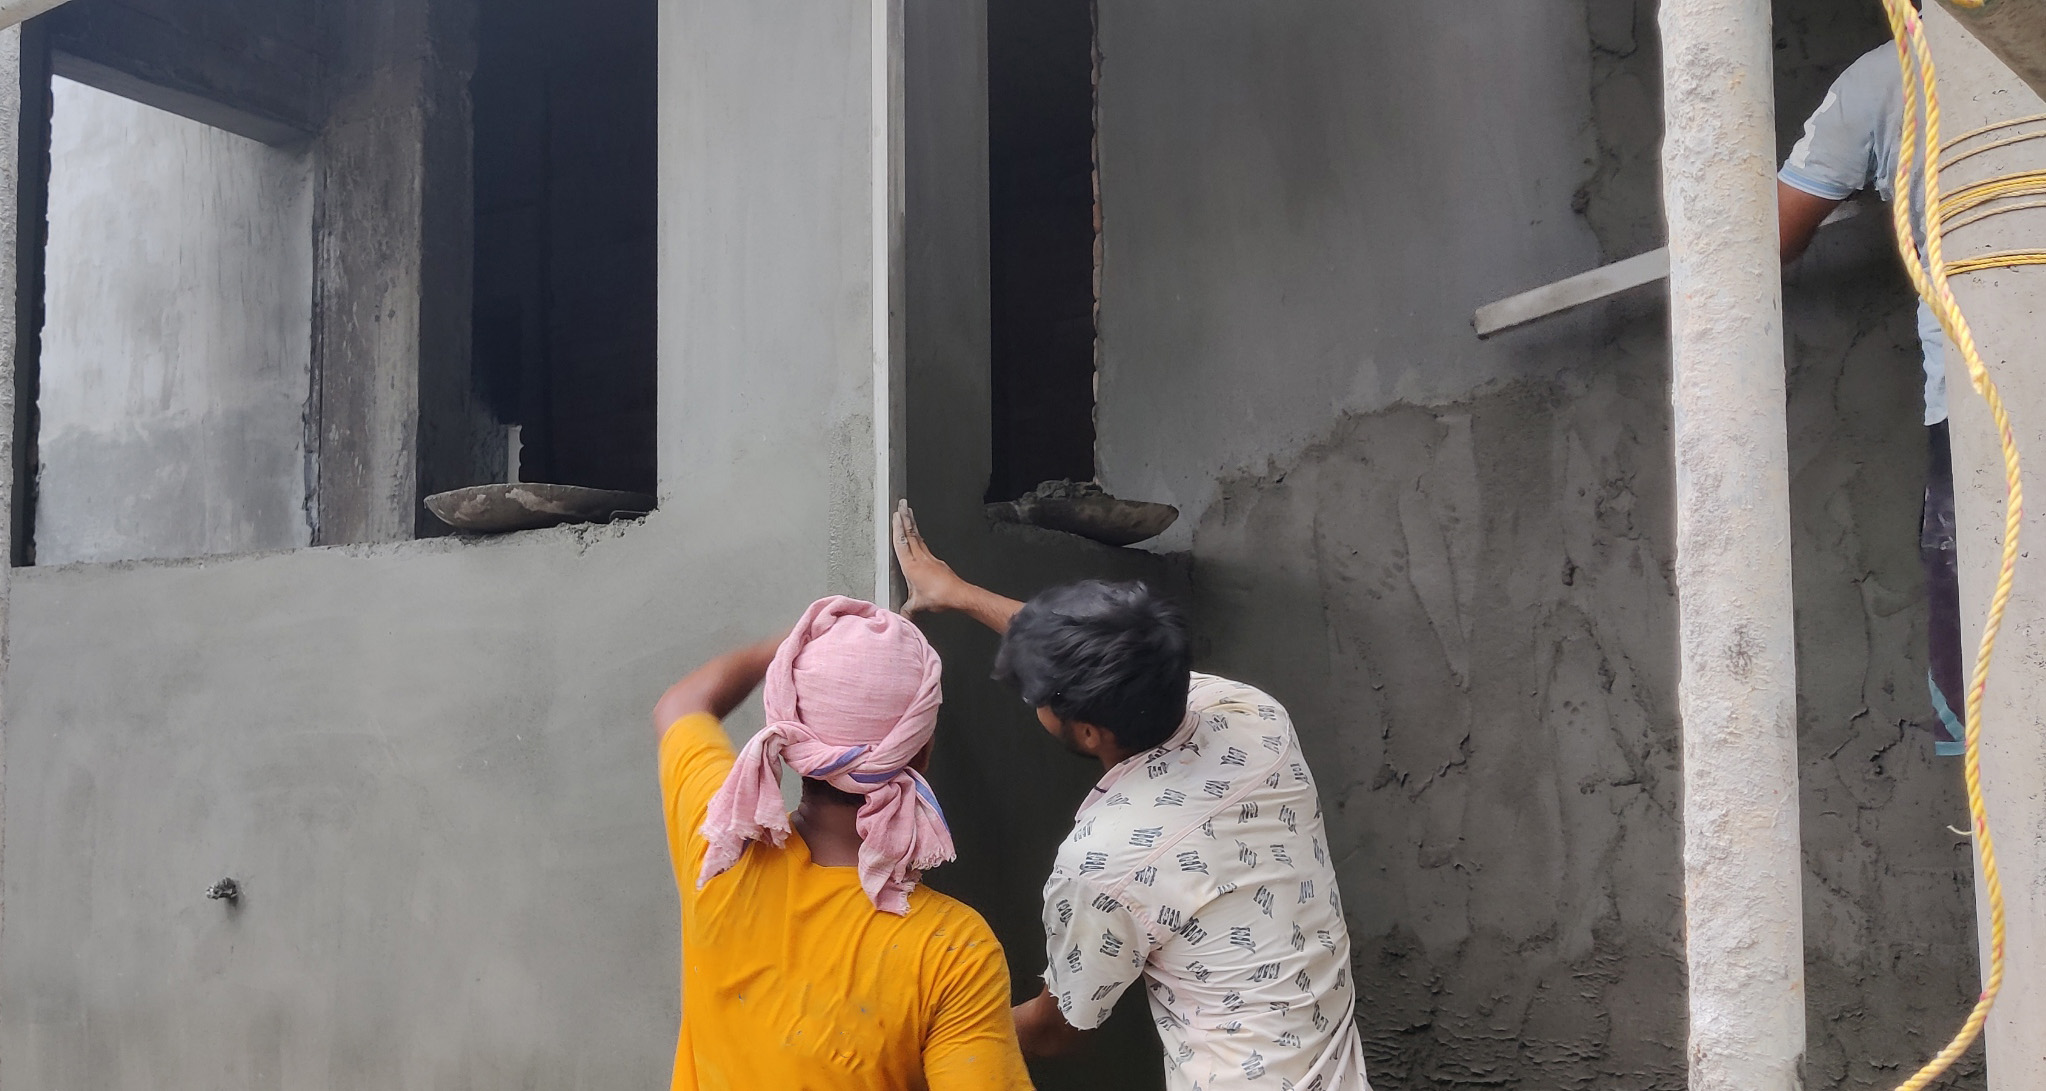
Polymer cement sand wall plastering in progress at a residential site in Kochi | UniPro® Waterproofing
Benefits of Polymer-Modified Plaster
-
Saves Many Site Complications such as:
- Perfect Mix Ratio: They are “Ready to Use” and avoids site mix (water, cement & sand) mis calculations and subsequential troubles since they are containing well graded sand & additives at factory which ensure consistent quality.
- No sieving Required and has Consistent Quality & Better Surface Finish
- Easy handling at site which results in less labour & storage space required.
-
Easy to Apply:
Application procedure is similar to that of conventional plasters, but the major advantage of this product is improved coverage, least rebound.
-
Needs Lesser Curing:
It requires water curing 2 to 3 times a day for 3 days only. This enables faster construction with crack resistant, durable surfaces, where as conventional plastering needs at least 7 days curing, 3 times a day.
-
Minimal Wastage:
Lesser rebound loss than conventional plaster.
-
Highly recommended:
for well-prepared walls requiring thickness of plaster up to 15mm in a single layer.
-
Enhanced Durability:
Resists cracking, peeling, and fading due to presence of polymer.
-
Improved Water Resistance:
Protects against moisture penetration and mold growth.
-
Increased Strength:
Provides a stronger, more durable surface.
-
Reduced Maintenance:
Requires less upkeep over time.
Also Watch Video: Laterite Brick Wall Waterproofing
Choosing the Right Plaster
Selecting the appropriate plaster depends on factors such as:
- Wall Type: Interior or exterior.
- Desired Finish: Smooth, textured, or decorative.
- Environmental Conditions: Humidity, temperature, and exposure to elements.
- Budget: Cost considerations.
Professional Installation/Workmanship
While DIY plastering is possible for small projects, professional installation ensures quality results and long-lasting performance. Experienced plasterers have the expertise to achieve flawless finishes and address any challenges that may arise.
Maintenance and Repair
Proper maintenance is crucial for preserving the appearance and functionality of plastered walls. Regular inspections, cleaning, and minor repairs can help prevent significant damage.
Wall plastering is a vital aspect of construction, enhancing both the aesthetics and functionality of interior and exterior spaces. By understanding the different types of plaster, the importance of preparation, and the various finishing techniques available, you can make informed decisions to create beautiful and durable wall surfaces. Whether you’re embarking on a DIY project or hiring a professional, the knowledge gained from this comprehensive guide will help you achieve the desired results.
Feel free to to pen your thoughts on this article below.
References:
- Quality Assurance for Cement Plastering – https://rdso.indianrailways.gov.in/
- IS 1542 : 1993 (Reaffirmed 2003) – Indian Standard Sand for Plaster – Specifications
- IS 1661 : 1972 – Code of Practice for Application of Cement and Cement Lime Plaster Finishes
- UltraTech TDS Readiplast


Leave a Reply