Toilet Floor Waterproofing without Breaking Tiles: A Three-Tiered Approach
by Babu George
Originally published on December 24, 2023, 5:14 pm, updated on November 12, 2025
scroll downLeaky toilets can be a homeowner’s nightmare, causing a cascade of problems from damp walls to compromised structural integrity. Water seeping under tiles is not just an aesthetic issue; it can lead to long-term damage such as mold growth, flaking paint, and even spalling on RCC slabs. In this article, we will explore a comprehensive three-tiered approach to waterproofing toilet floors without the need to break any tiles, offering a faster and more cost-effective solution to the persistent problem of water leakage. Feels like too good to be true? Not really, it is possible by all means. Read on to know how this can be done.
The Perils of Water Seepage: Understanding the Consequences
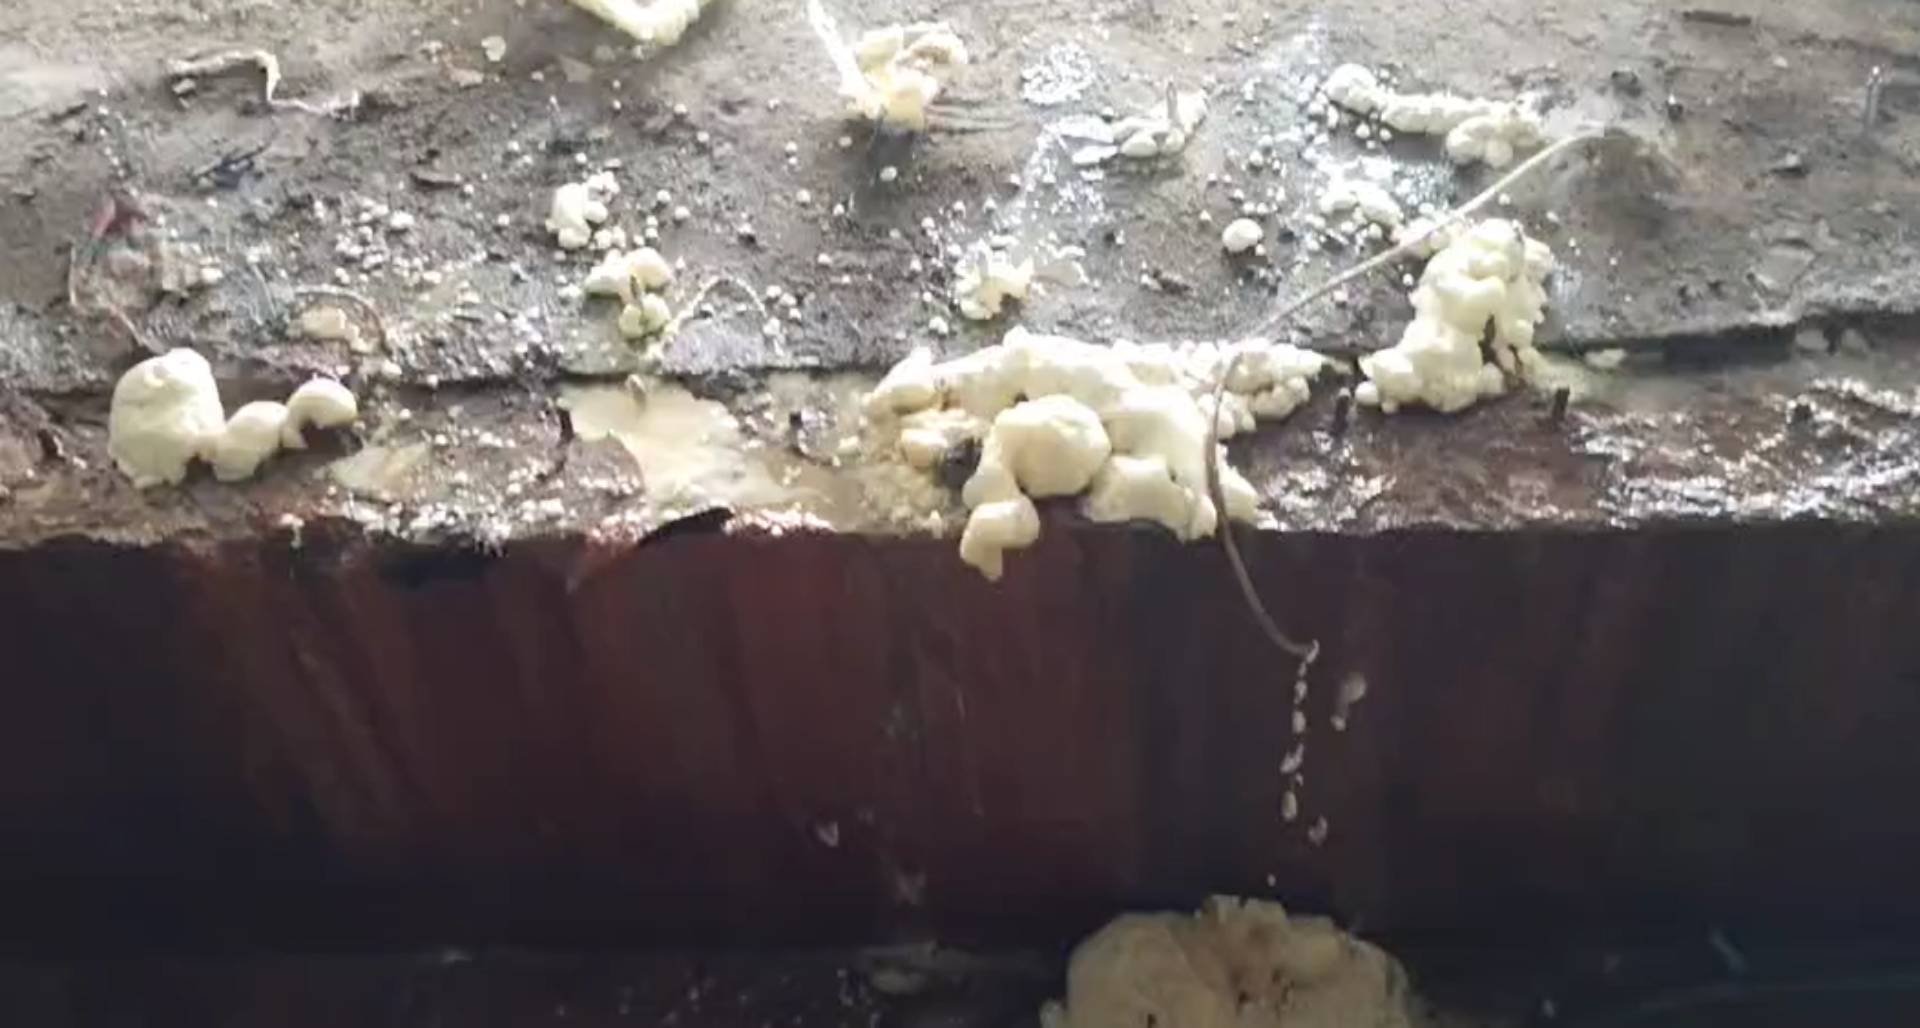
Before diving into the solution, let’s understand the perils of water seepage under tiles. The consequences go beyond just a wet floor; damp walls, rooms below getting damp, and the prolonged exposure resulting in mold and fungus growth, flaking paint, and spalling on RCC slabs are all common issues which can ultimately lead to structural issues.
- Mold and fungus not only pose health risks but also lead to an unpleasant odour in the affected areas.
- Flaking paint not only ruins the aesthetics of your home but can also be a sign of underlying dampness which can cause irreversible damage.
- Spalling on RCC slabs weakens the structure, compromising its durability and safety.
Therefore, it is important to address water leakage promptly to prevent these issues from escalating.
Water seeping under tiles is not just an aesthetic issue; it can lead to long-term damage such as mold growth, flaking paint, and even spalling on RCC slabs.
Introducing the Three-Tiered Waterproofing Approach
Unlike conventional waterproofing methods, the three-tiered approach designed by UniPro®’s technical team is a revolutionary solution that tackles the problem at its core. Let’s break down each tier to understand the process:
Click to watch the Toilet Leak-proofing process video
Tier 1: Creating Grooves between Tile Joints
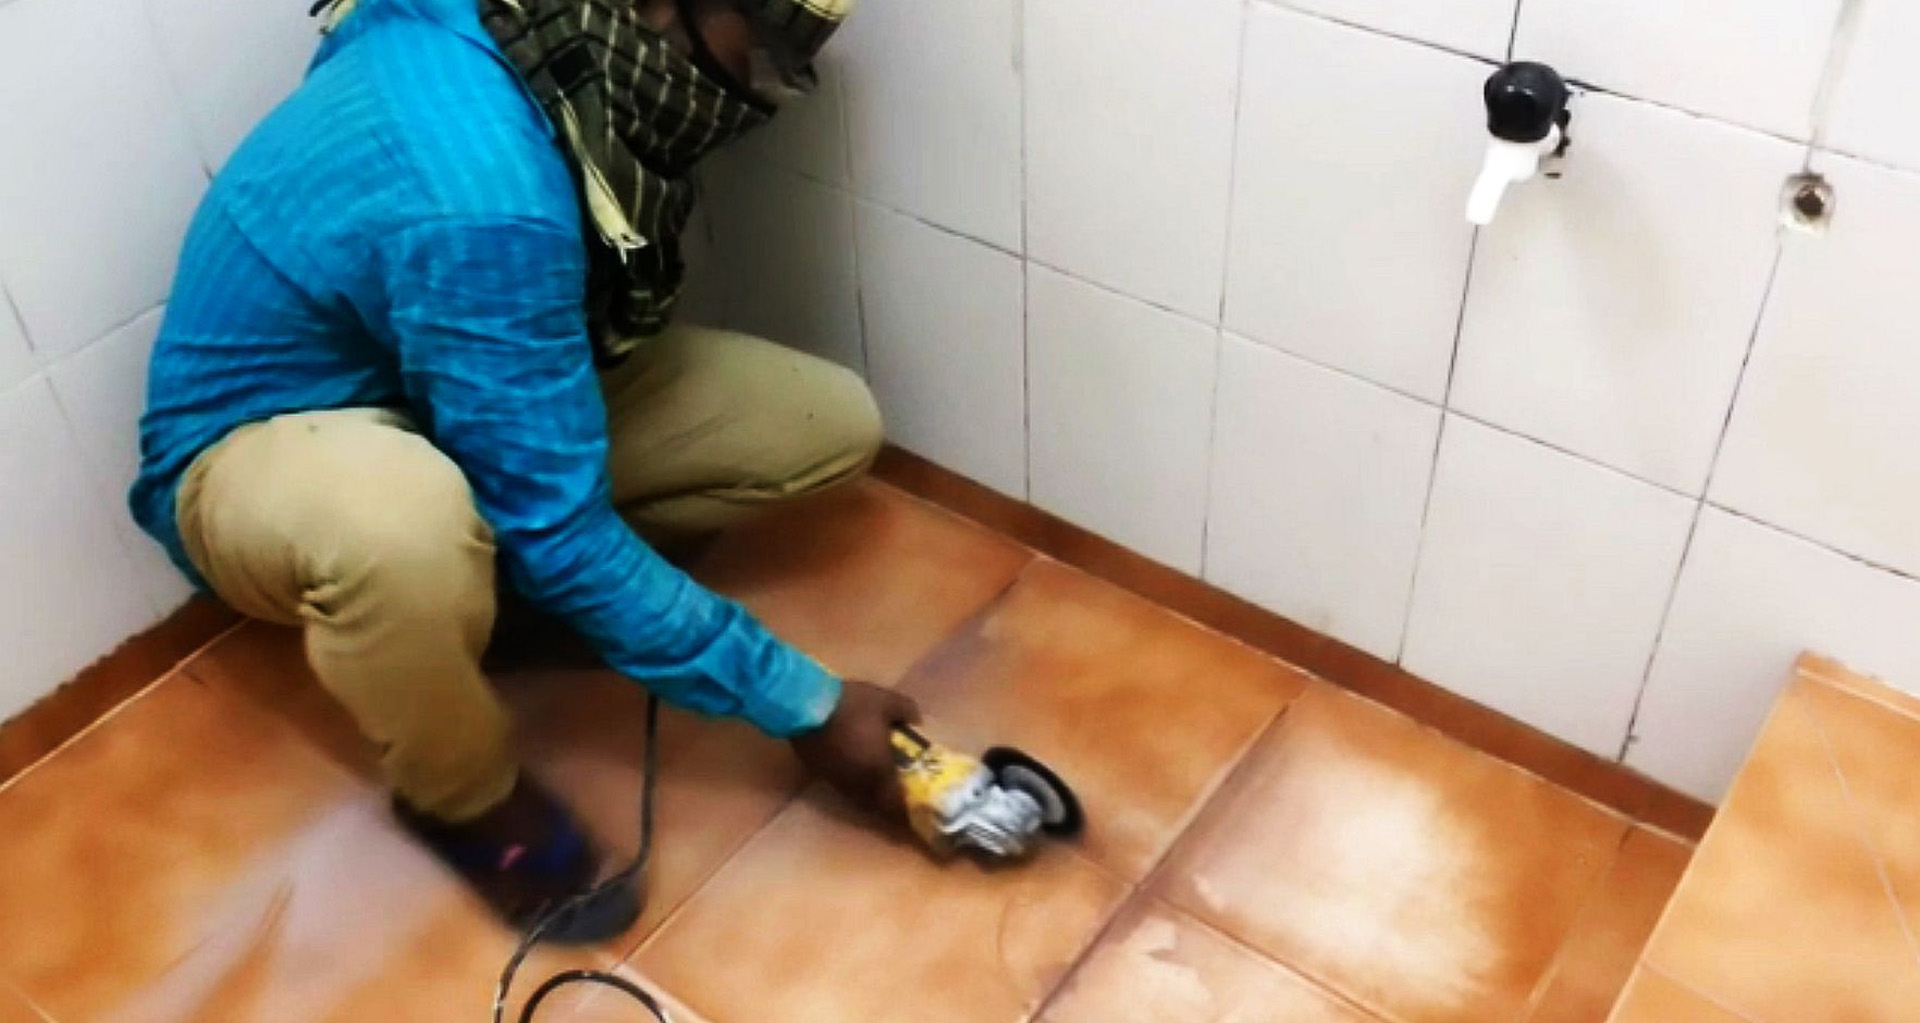
Toilet Tile Grooving in progress
The first step involves creating grooves between the tile joints in the floor area. This is a meticulous process that requires precision to ensure that the grooves are adequately spaced and aligned. These grooves serve two purposes:
- It helps the waterproofing compound (which is done during tier 2 step) to percolate and saturate the under-tile cement structure so that it can reduce the water absorption, post treatment.
- It also helps achieve a watertight seal between already laid tiles and grooves help the epoxy stay there for many years to come.
While creating grooves/tile gaps, special equipment are used to create grooves at the right angles which ordinary rotary grinding blades cannot achieve. The vertical wall area of 4 inches from tile floor are also grooved to avoid water ingress in case of flooding. Other parts of the vertical walls aren’t touched as normally only floor leaks cause 99% of the leaks, other than issues such as plumbing leaks, gratings-trap joints etc.
Tier 2: Applying the Waterproofing Chemical into the Grooves
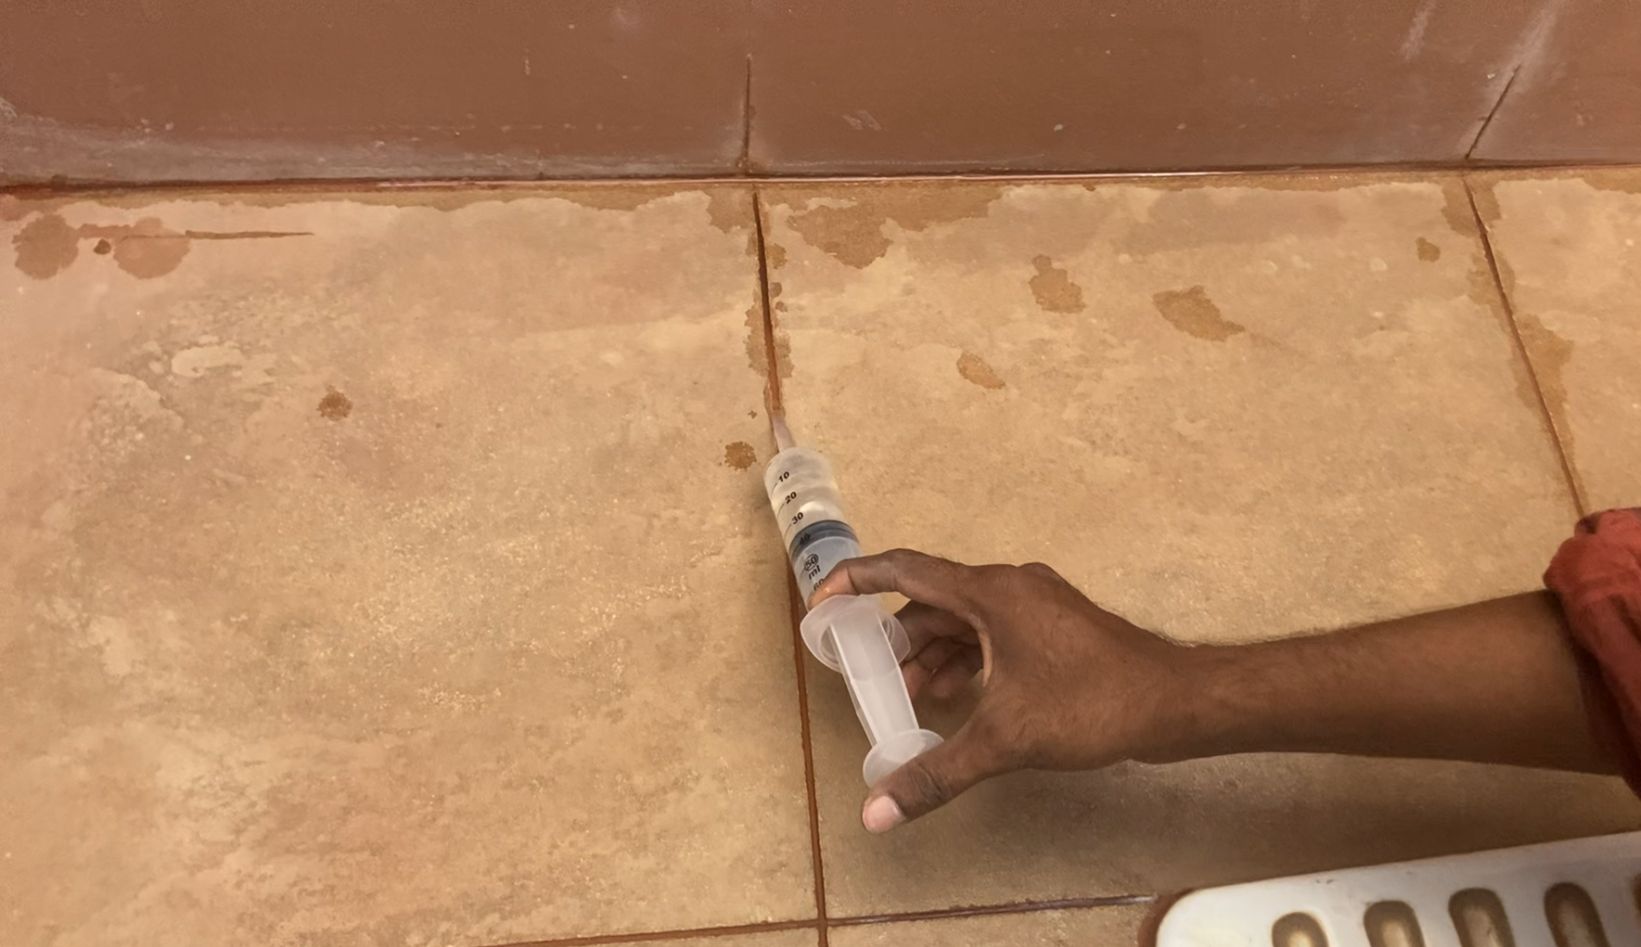
Applying the Waterproofing Chemical into the Grooves
After creating the grooves, the next step is to apply a waterproofing chemical into the grooves created. This process involves delivering the waterproofing chemical into the grooves, diluted with water with a large syringe or sprayer allowing a waterproofing chemical to percolate through the grooves so that on a later stage if water manages to seep thru the grooves, it won’t allow percolation. This once dried acts as a barrier, reducing the water absorption and further percolating it to the drier areas underneath causing dampness.
Tier 3: Sealing with High-Quality Epoxy Tile Grouts
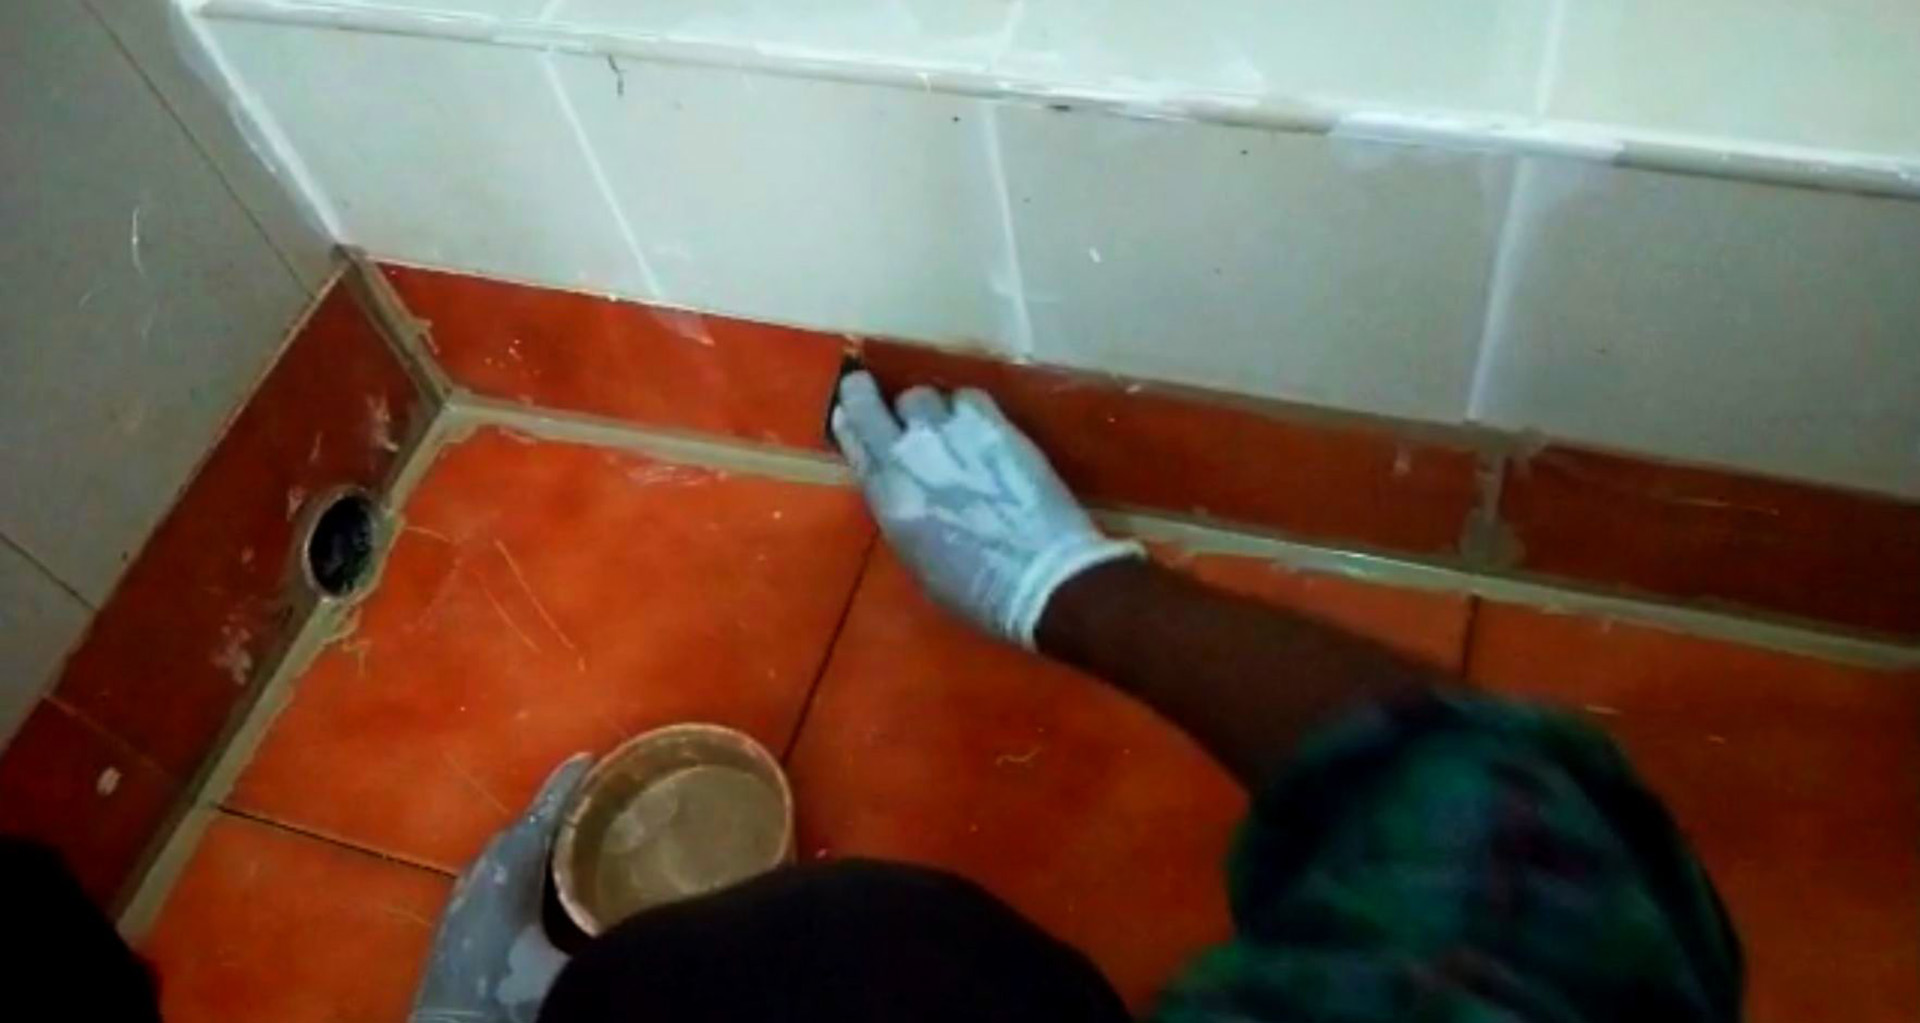
Toilet tile joint epoxy grouting process
On the second day, any residual chemicals are removed and cleaned up. Once the floor has dried, the final phase commences. High-quality epoxy tile grouts of client’s choice are used to seal the grooves created in Tier 1. Epoxy grouts are known for their durability and water-resistant, and abrasion resistant properties, ensuring a long-lasting solution to keep water at bay. This step not only enhances the aesthetic appeal of the tiled floor but also reinforces its resistance to water seepage.
Also Read: A Step by Step Guide to Prevent Wall Dampness or Fix it
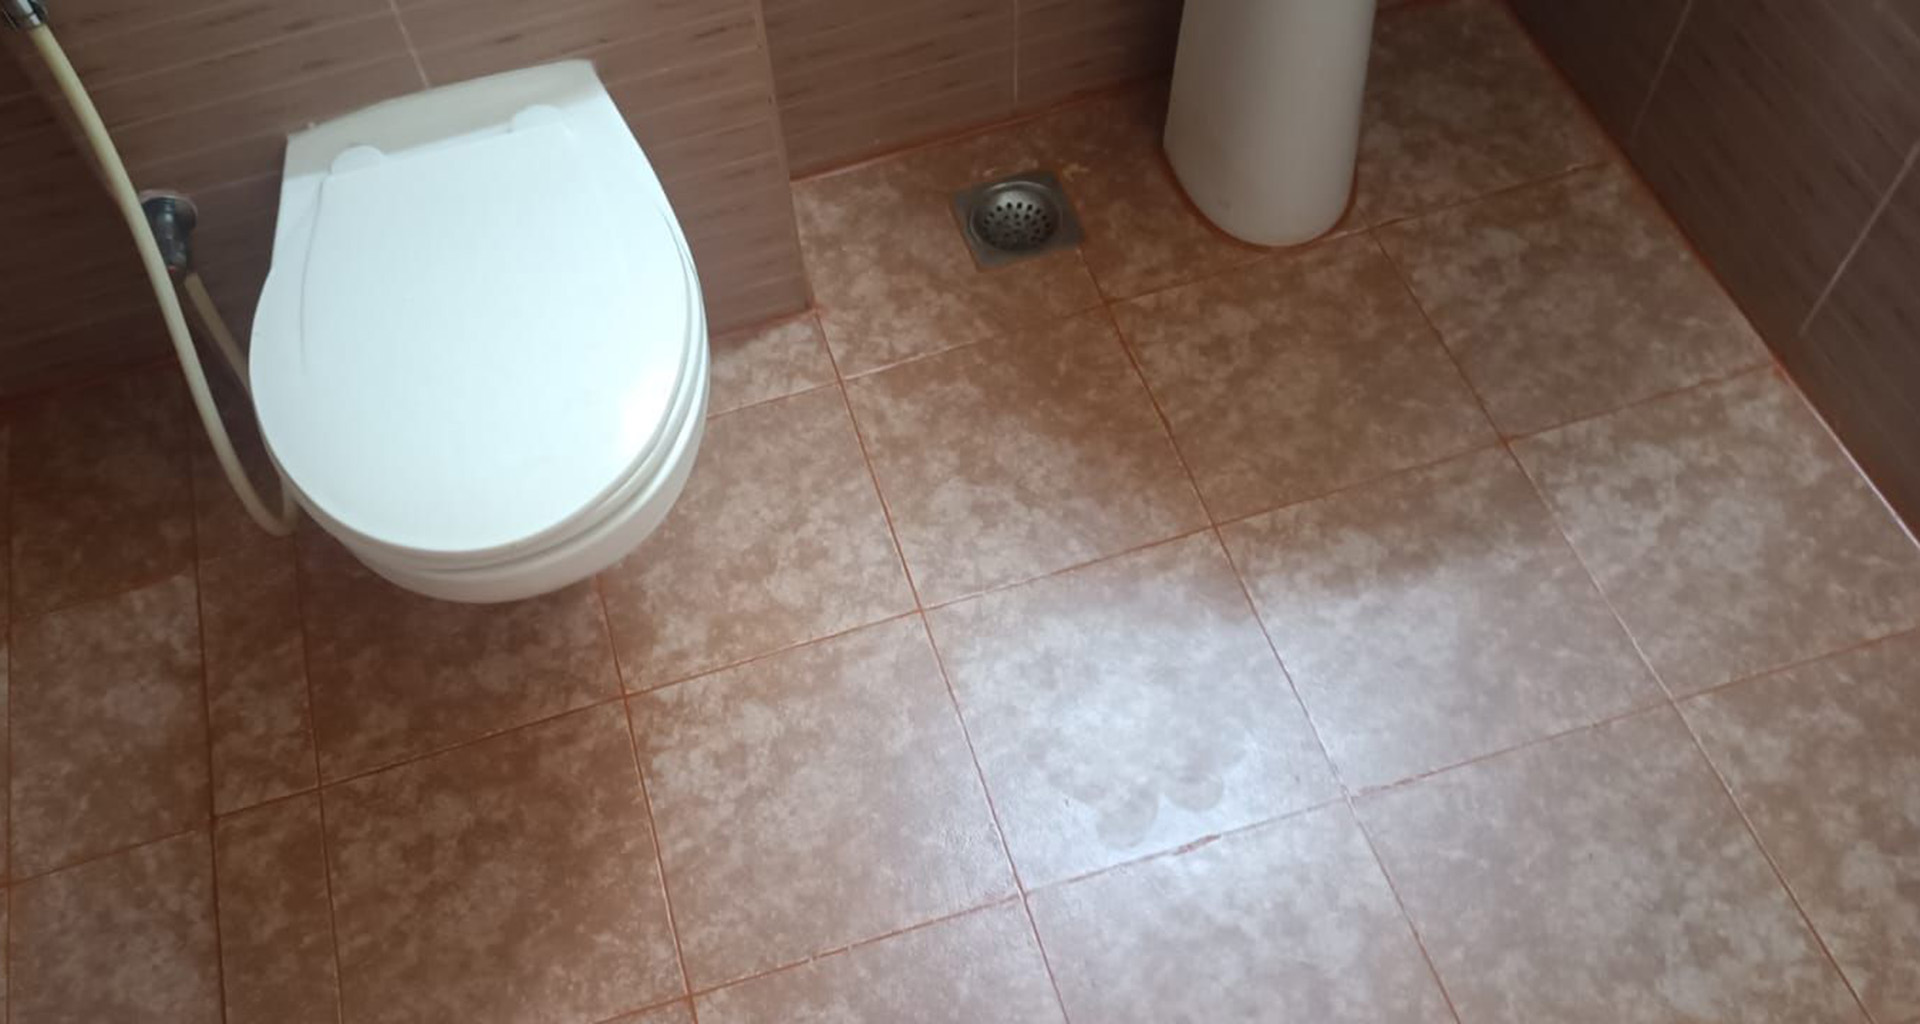
A finished tiled toilet floor
Unique Advantages of this Three-Tiered Approach
- Preserve Existing Tiles: Transform your leaky toilets into permanently dry floors without removing any tiles. This process allows you to keep your existing tiles intact and unchanged without being messy.
- Faster Completion: Our three-tiered approach can be completed in just three days, providing a quick and efficient resolution to the problem of water leakage.
- Cost-Effective: Our solution is not only faster but also more economical compared to the traditional method of removing and reinstalling tiles. Save money without compromising on quality.
- Reduction in Water Absorption in the tile joints: The featured solution offers reduction of water seepage through tiled joints, providing effective waterproofing without the need for tile breaking.
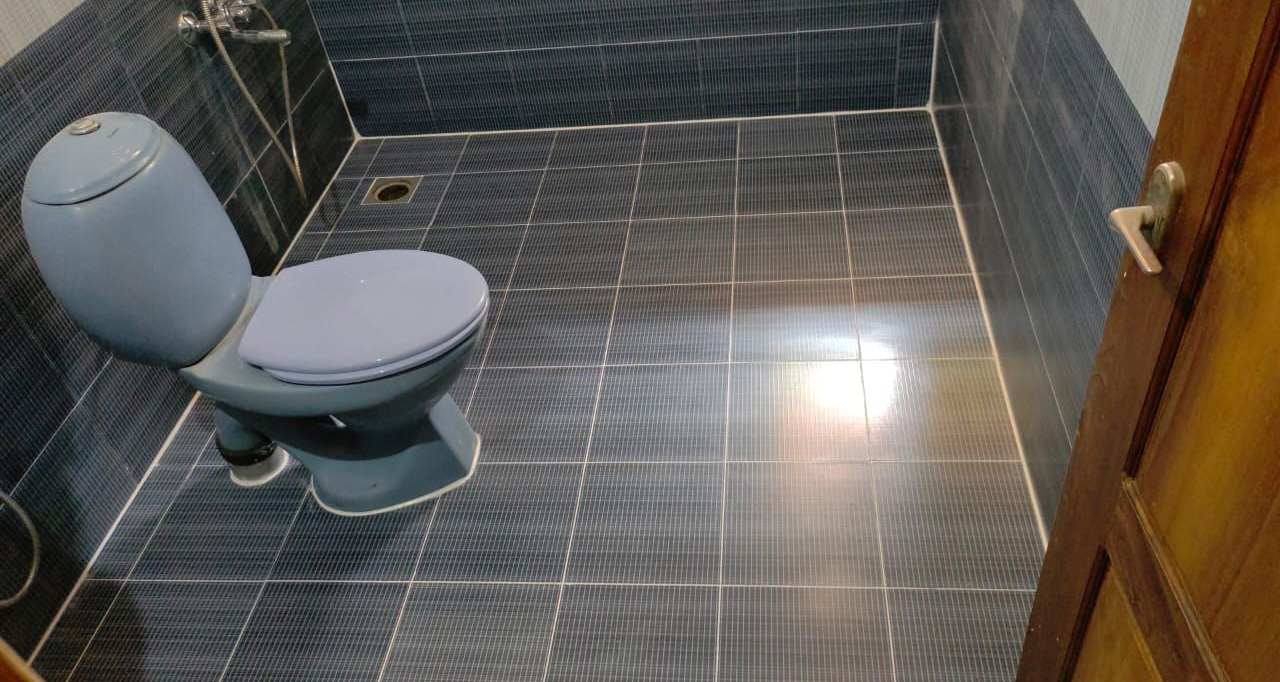
A Leak fixed Toilet – Original Site Image
Additional Benefits:
- Say Goodbye to Leaky Toilets Forever: Our three-tiered approach ensures a permanent solution to water leakage, giving you peace of mind.
- Fast, Immediate Results: Experience fast and immediate results with our efficient service. The completed toilets can be put to use the next day itself.
- Prevent Lower Bottom Dampness: This process addresses the root cause of water seepage, preventing lower bottom dampness that can lead to paint peel-off on walls and roofs.
Repainting the damp-walls
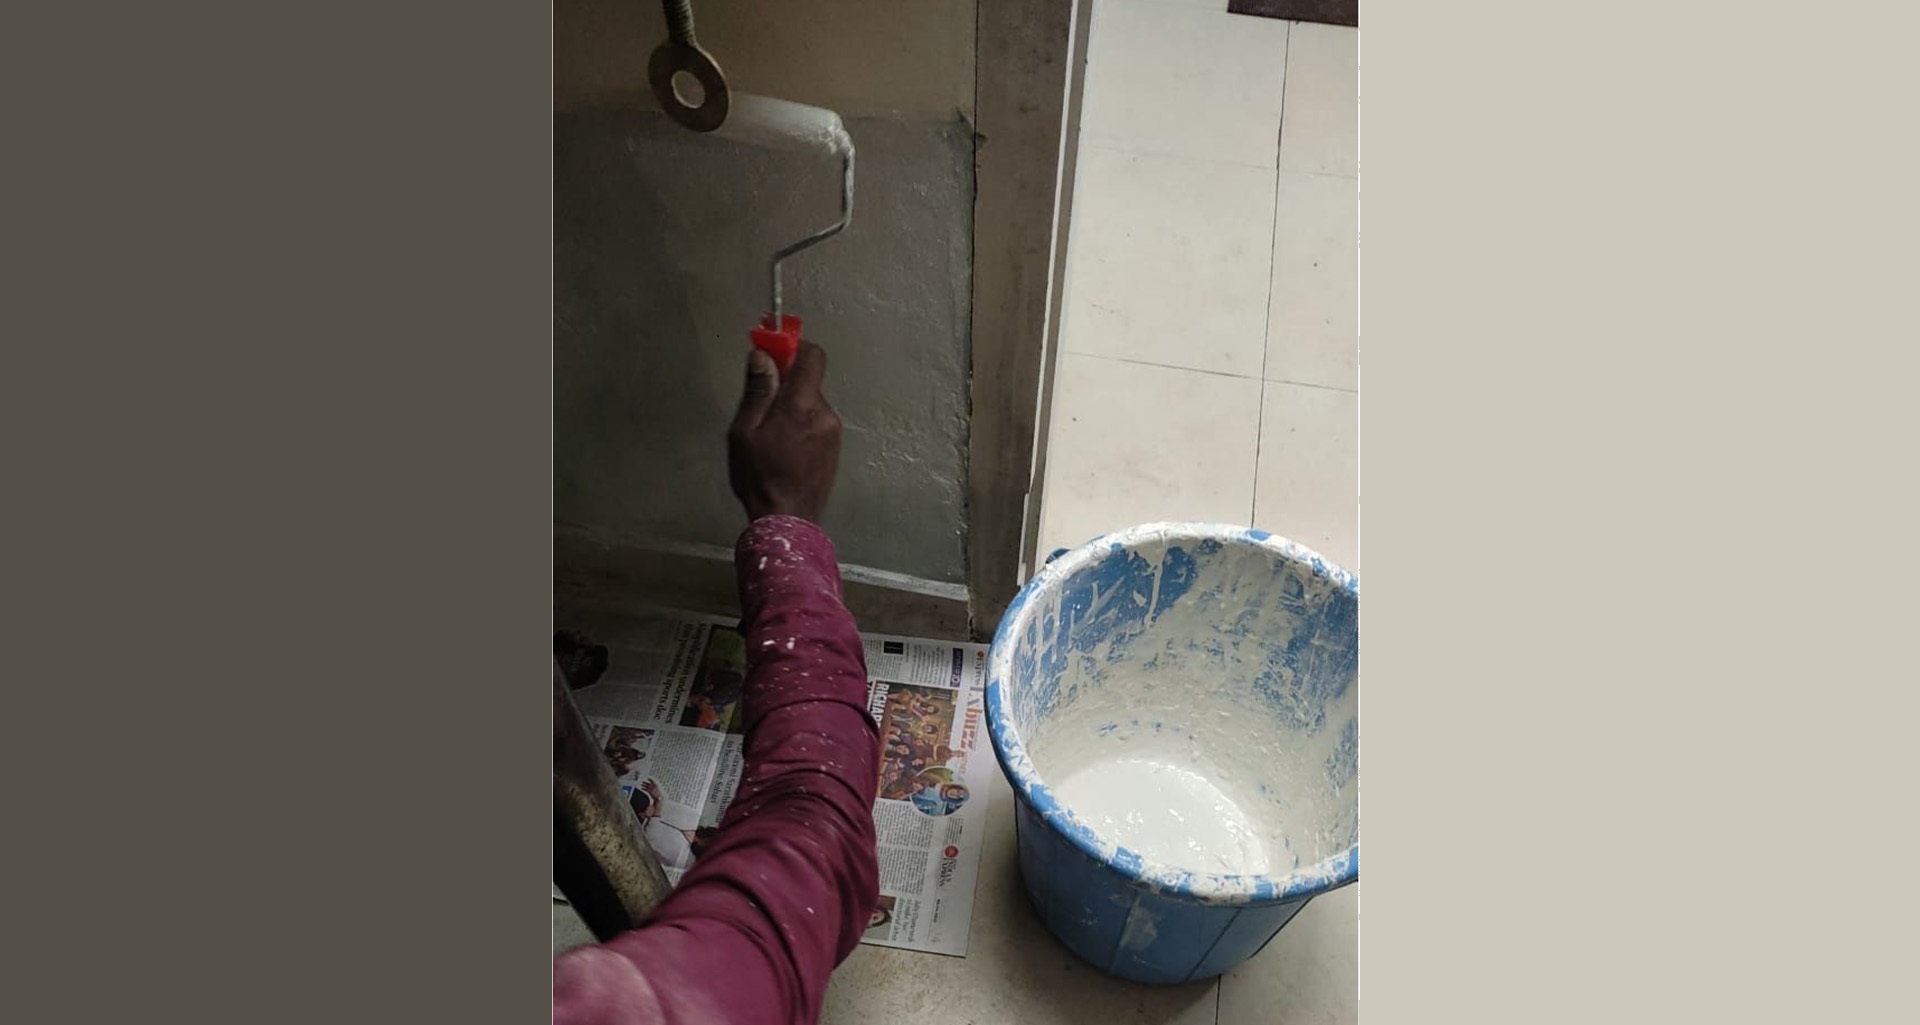
Moisture Barrier Treatment on Flaky Walls
We have noticed many times that homeowners want to repaint the flaks paints immediately after they have addressed the leaking toilet floor issue. What we have to under stand here is that, the further wetness is stopped. What about the dampness which is already there in floor and walls?
As you can understand, it will take months for the dampness to get dried up. Hence it is advised to hold on with the repainting for few months so that the moisture can escape and walls can dry up.
In case you don’t want to wait for that long, consider doing a Moisture Barrier Treatment (MBT) on the walls and then do the painting process. Moisture Barrier Treatment can be done on a damp wall and can handle immense negative water pressure.
Also Watch : Moisture Barrier Treatment Process Video
To conclude, UniPro’s three-tiered approach to toilet floor waterproofing offers a transformative solution to the persistent issue of water leakage. By preserving existing tiles, providing faster completion, and offering a cost-effective alternative to tile removal, homeowners can now safeguard their homes against the damaging effects of water seepage without undergoing the cumbersome process of breaking and reinstalling tiles.
Say goodbye to leaky toilets and hello to a dry and durable living space!
———————————————–
Disclaimer: There are many reasons for a toilet to leak such as leaks through the tiles, plumbing leaks, pipe joint leaks, drain-trap leaks etc. The process above only addresses the issue of leaks through the tiles. Other issues if found, have to be addressed employing the services of a qualified plumber.

