How to Prepare a Roof Surface Before Applying a Waterproofing Coating
by Babu George
Originally published on August 25, 2024, 4:45 pm, updated on November 12, 2025
scroll downWhether it is an old structure or a new one, waterproofing is an essential process in construction, especially for areas like roofs that are exposed to the elements. Proper surface preparation is crucial to ensure the waterproofing membrane adheres correctly and performs effectively over time.
This guide will walk you through the steps needed to prepare a roof surface before applying a waterproofing membrane. Whether you’re a seasoned contractor or a property owner or even a DIY enthusiast, these instructions will help you understand the importance of each step and how to execute them correctly.
-
Thorough Cleaning
The first and most critical step in preparing a roof surface for waterproofing is thorough cleaning. The roof surface must be free of dirt, debris, and contaminants to ensure the waterproofing membrane adheres properly.
-
Broom or Brush Cleaning:
Start by using a broom or wire brush to remove loose dirt, dust, and debris. This initial cleaning will clear away most of the surface-level contaminants.
-
High-Pressure Jet Wash:
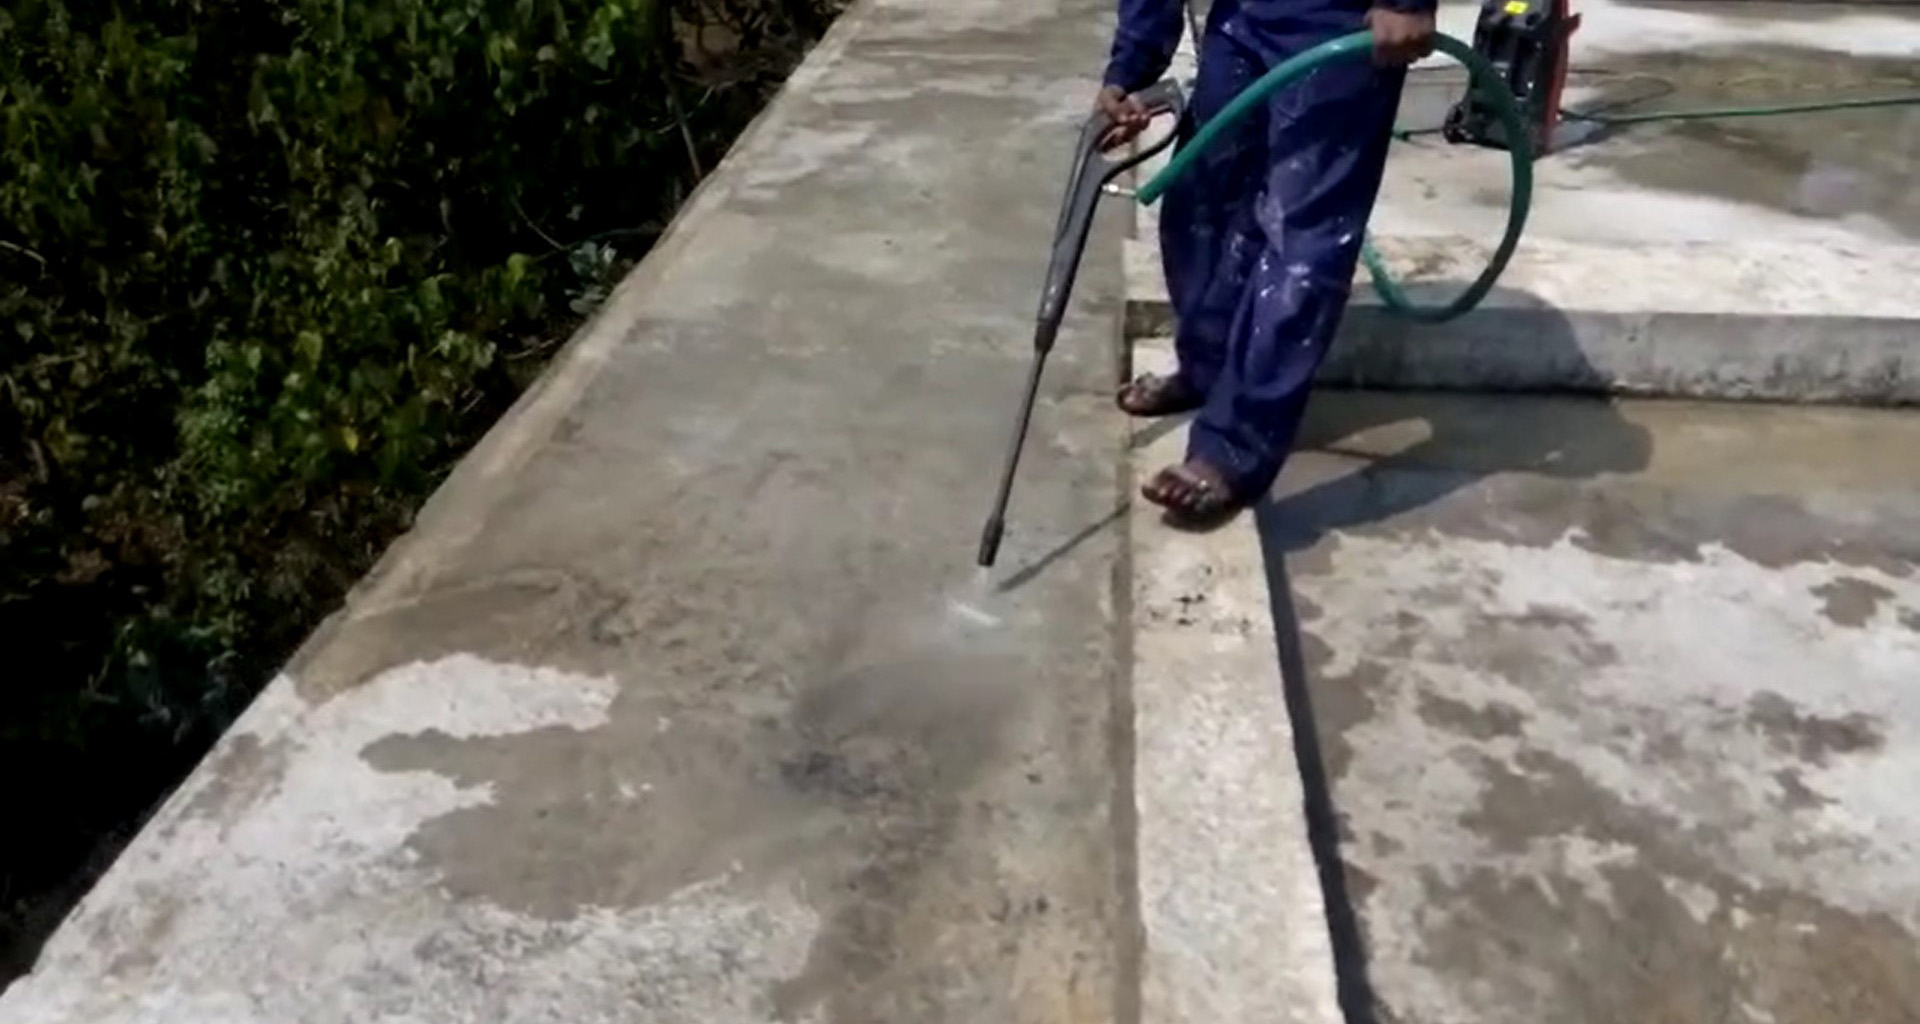
Jet washing in progress before waterproofing application | © UniPro® Waterproofing
For more stubborn dirt and contaminants where algae and fungal growth is stubborn, a high-pressure jet water blast is recommended. This method is particularly effective in removing any oily residues, bird droppings, or other contaminants that a broom or brush might miss. When using a pressure washer, ensure the water pressure is not too high to avoid damaging the surface.
-
Dealing with Mold and Mildew:
It’s important to ensure the surface is free of all mold, mildew, or any other living organisms. These can prevent the waterproofing membrane from adhering properly and can cause deterioration of the waterproofing system over time. Use a suitable fungicide or bleach solution to kill and remove mold and mildew, followed by a thorough rinse with clean water.
Tip: Allow the roof to dry completely after cleaning to avoid trapping moisture under the waterproofing membrane, which can lead to failure of the system.
-
Removing Loose Material
Once the roof surface is clean, inspect it for any loose or flaking materials. These materials must be removed to provide a solid, stable base for the waterproofing membrane.
-
Chisel or Rotary Grinder:
Use a chisel or rotary grinder to remove any loose or flaking material. This step is crucial because if these materials are left in place, they can cause the waterproofing membrane to lift and fail over time.
-
Inspect for Inconsistent Areas:
Look for areas where the surface material may be inconsistent, such as where old paint or coatings are peeling away. These areas should be thoroughly cleaned or stripped down to the base material.
Tip: After removing any loose materials, use a vacuum or broom or blower to clear away any remaining dust or debris. This will ensure the surface is as clean and smooth as possible before proceeding to the next steps.
-
Water Ponding Test
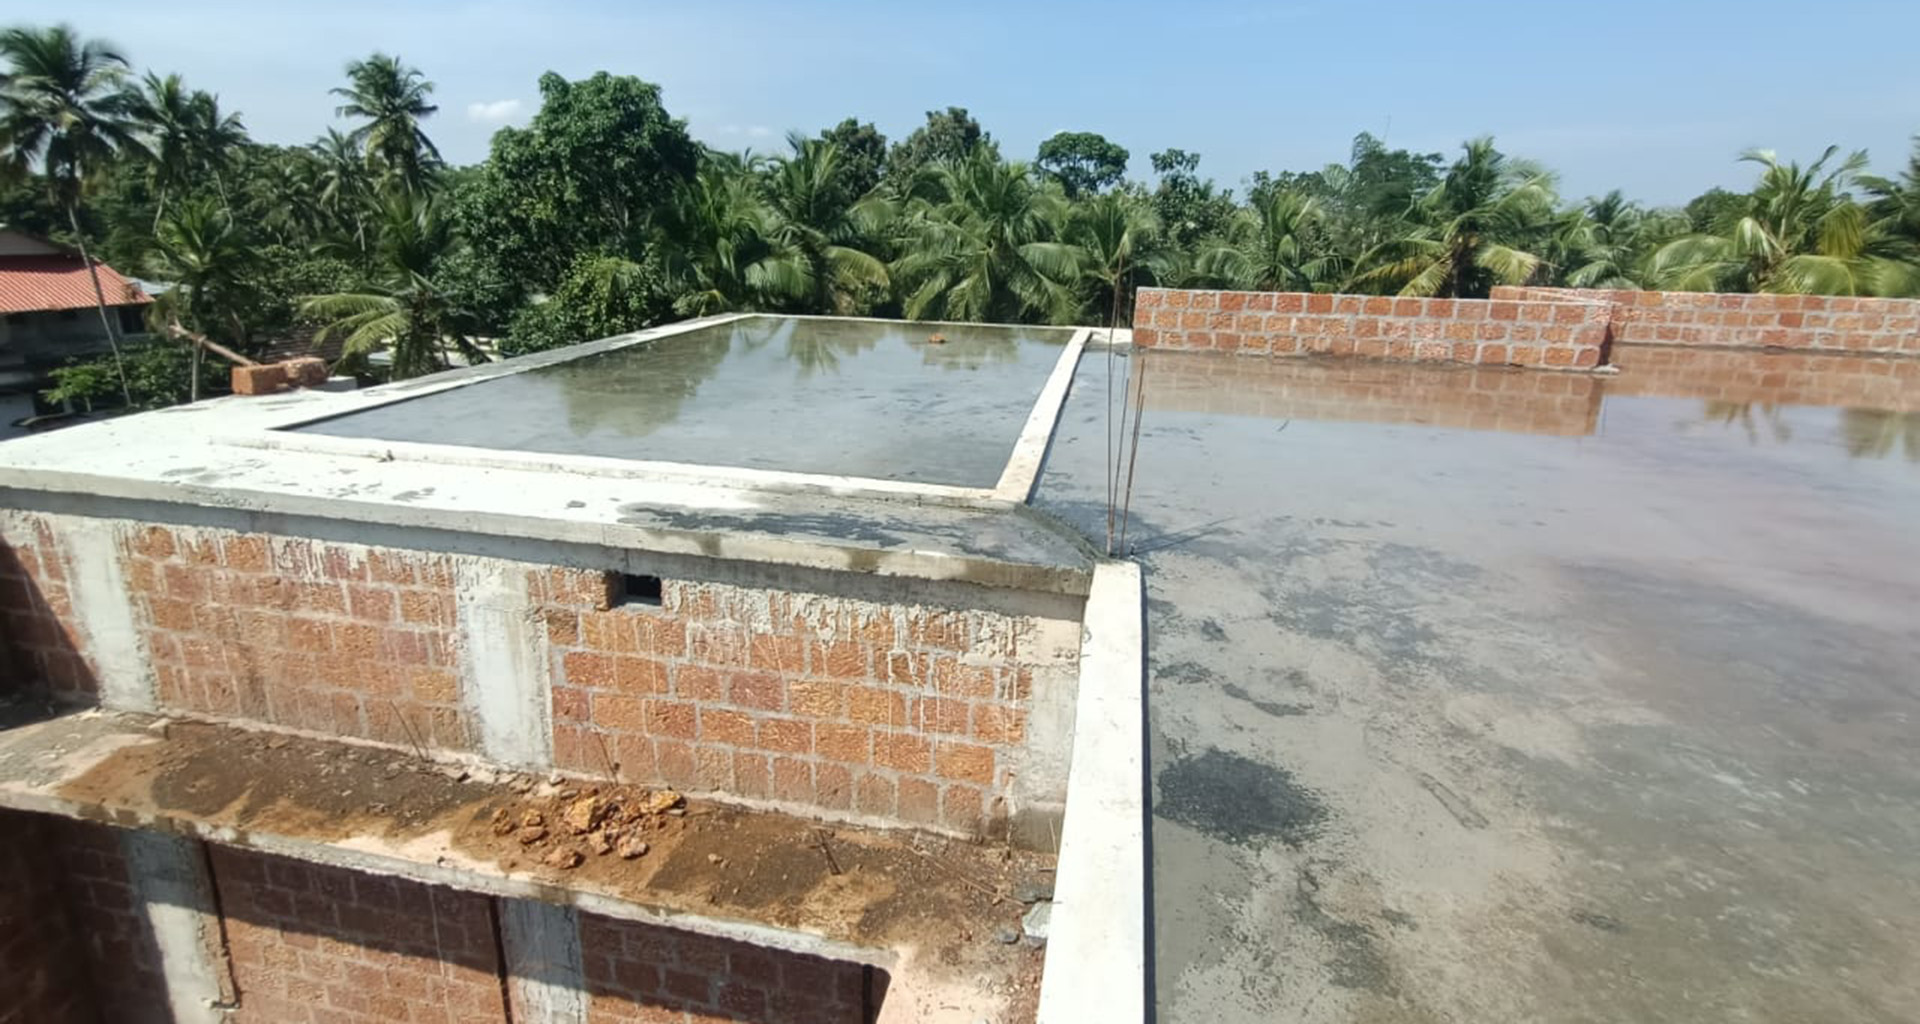
Water ponding on terrace | © UniPro® Waterproofing
If you are working with a new reinforced cement concrete (RCC) roof or an un-plastered slab, it’s important to conduct a water ponding test. This test helps identify weak points in the roof where water might seep through. If the slab is already a plastered surface, we recommended to skip this step as water may get trapped under the cement plaster.
-
Ponding Process:
Begin by ponding water on the roof for at least 48 hours. This involves flooding the surface with water and letting it sit. During this time, monitor the under surface/ceiling area for any signs of leakage.
-
Identifying Leaks:
If you notice water leaking from any area, this indicates a weak point in the slab that needs to be reinforced before applying the waterproofing membrane.
-
Secondary Reinforcement:
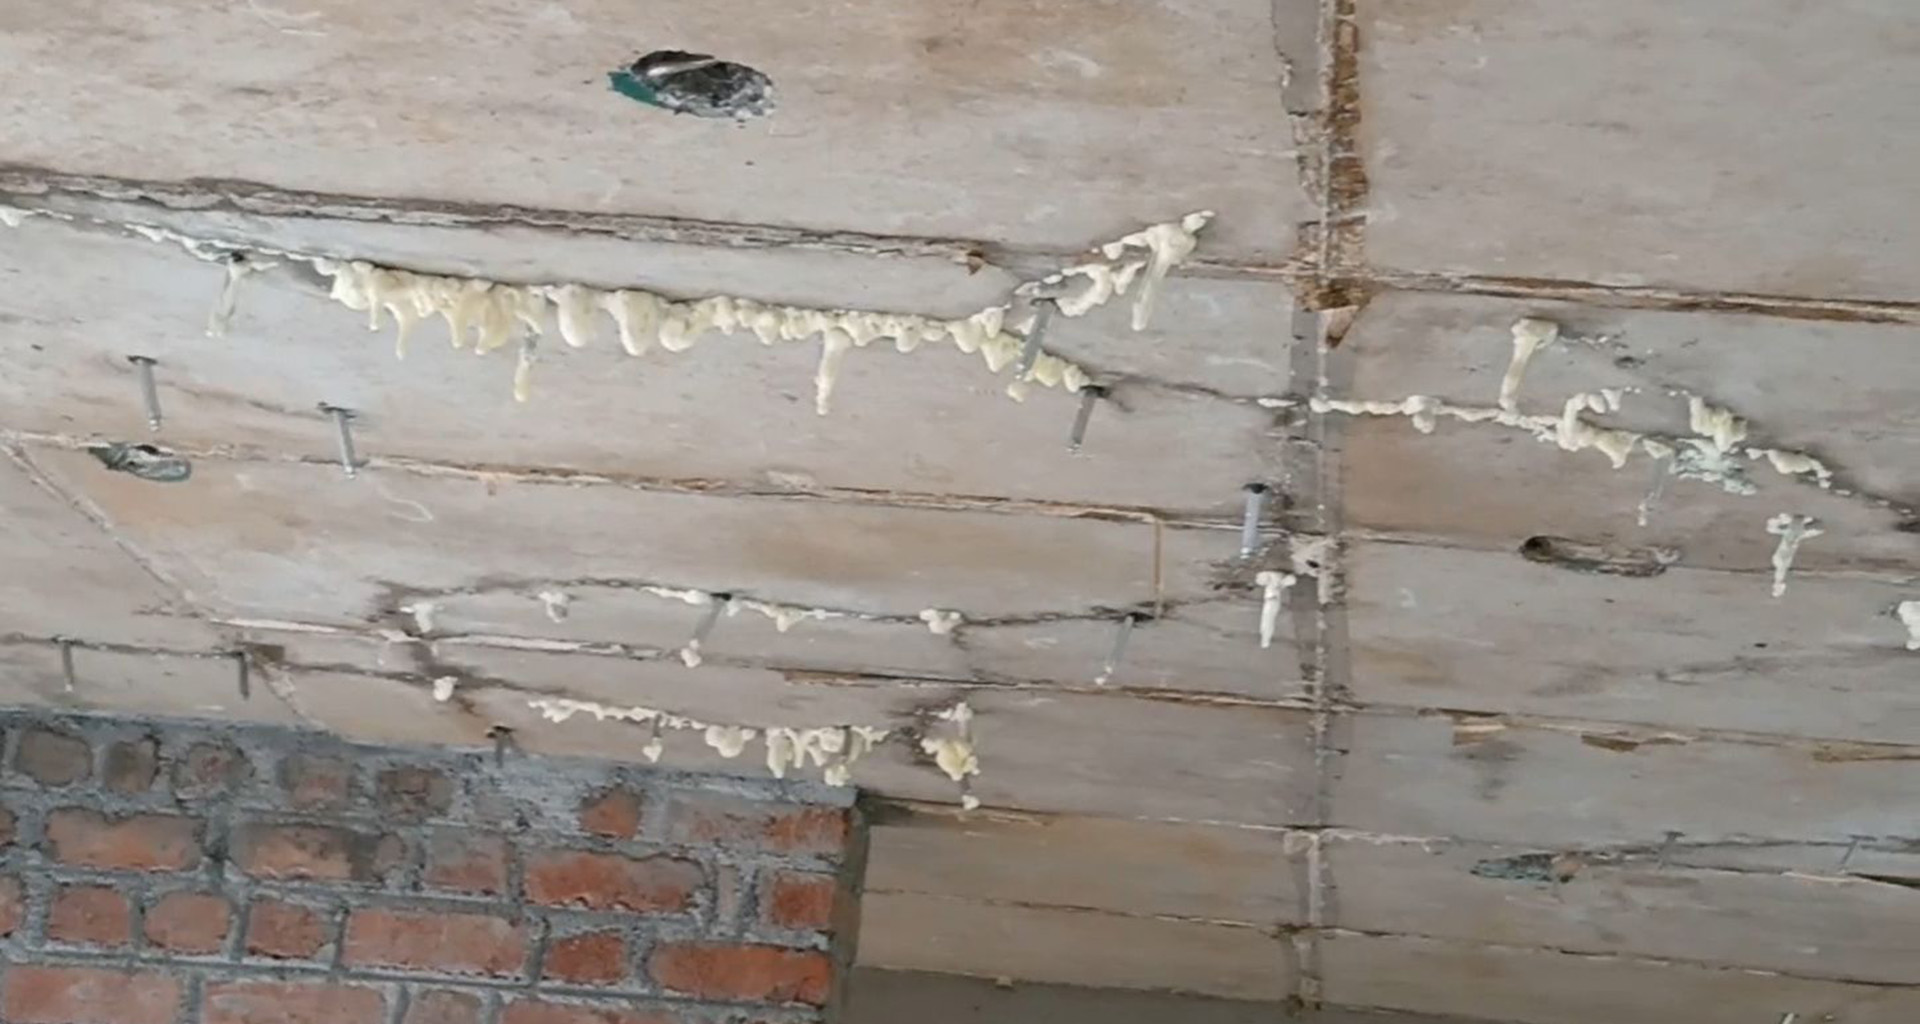
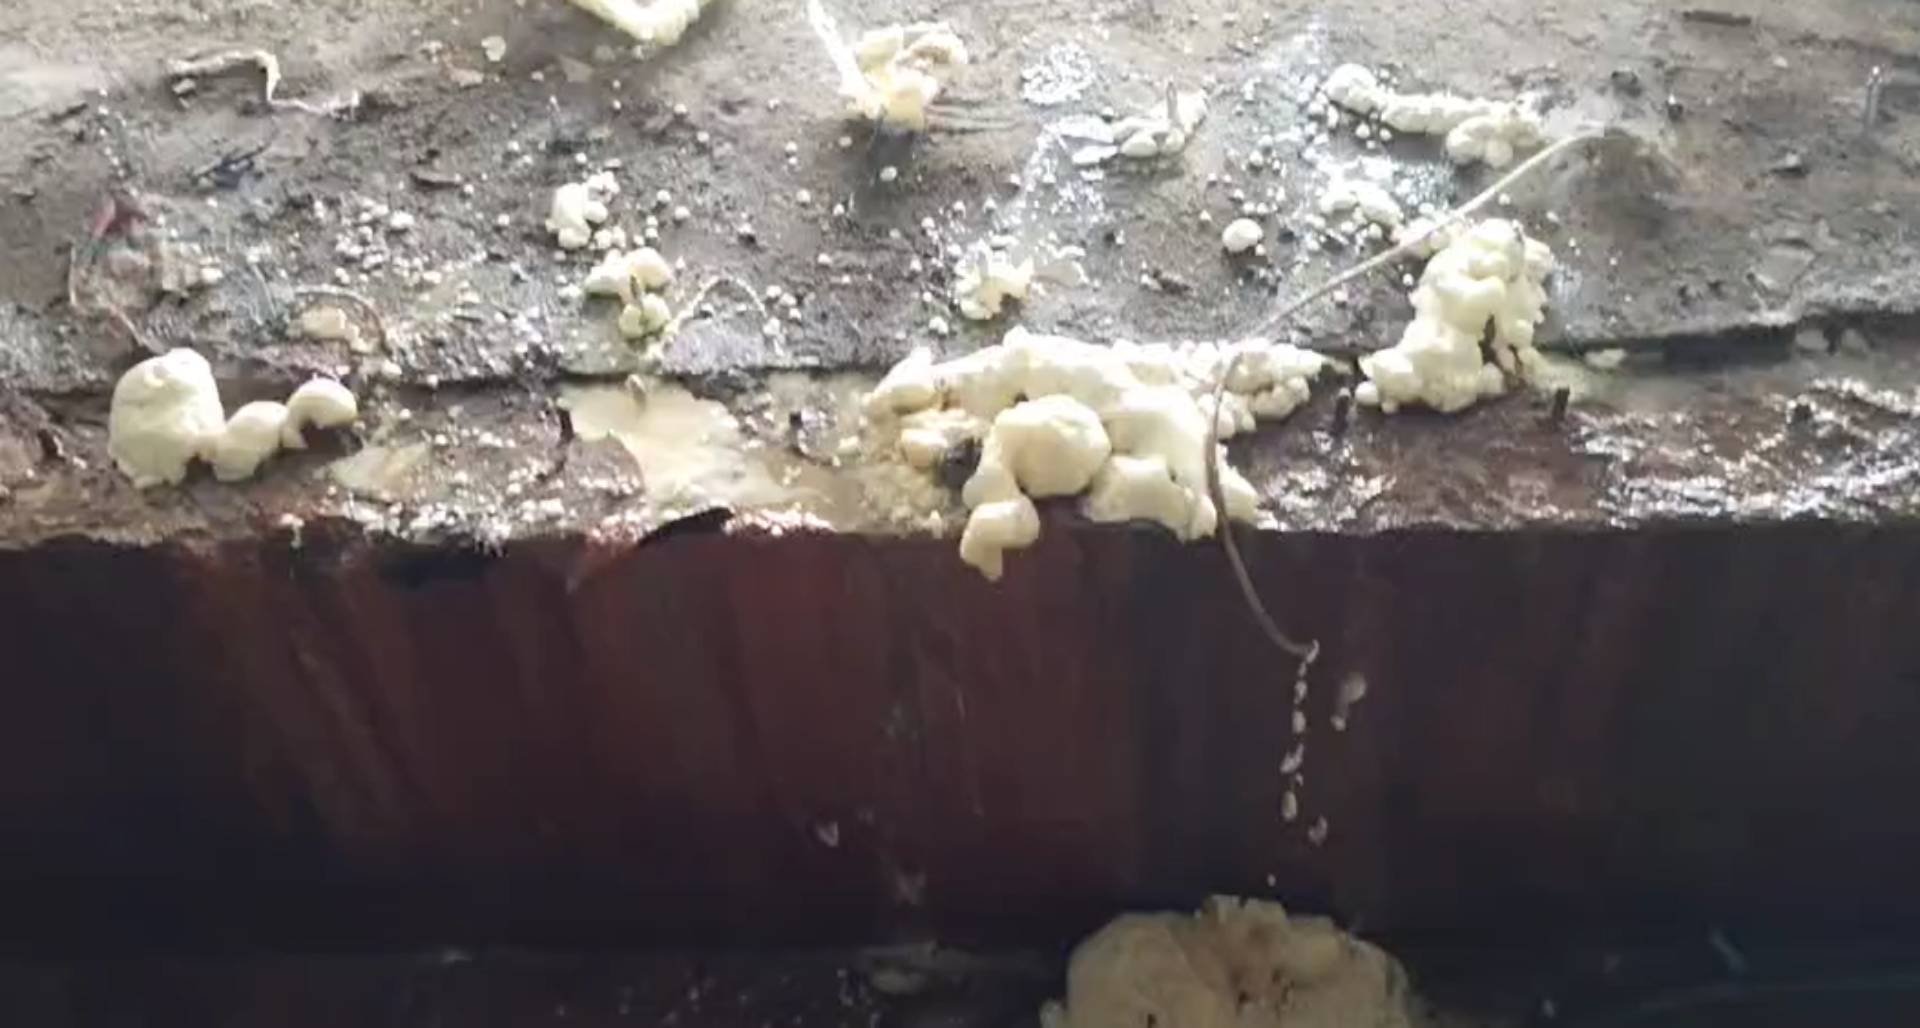
PU Injection grouting metal packers being fixed on to a leaking roof slab | © UniPro® Waterproofing
For areas where leaks are detected, use secondary reinforcement measures like injection grouting. Injection grouting involves filling the voids or cracks in the slab with a liquid grout, which hardens to form a watertight seal. This step strengthens the slab and prevents future leaks.
Tip: Conduct the water ponding test after removing loose material and cleaning the surface to ensure any weak points are accurately identified.
-
Roughening Smooth Areas
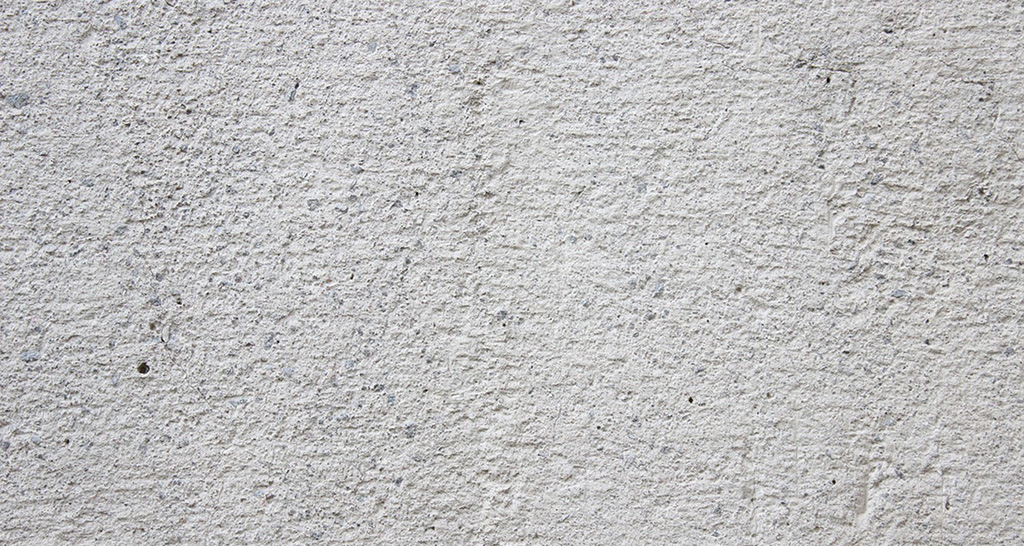
Concrete surface ready for waterproofing | © UniPro® Waterproofing
Smooth surfaces can prevent the waterproofing membrane from adhering properly, leading to potential failures. To enhance adhesion, it’s important to roughen smooth areas of the roof.
-
Sanding:
Use sandpaper or a mechanical sander to sand down smooth areas. The goal is to create a matte, slightly rough surface that will allow the waterproofing membrane to bond more effectively.
-
Testing the Roughness:
After sanding, check the surface by running your hand over it. You should feel a slight texture, but no sharp peaks. This texture provides the necessary grip for the membrane.
Tip: Ensure you wear protective gear, such as gloves and a mask, while sanding to protect yourself from dust and debris.
-
Blunting Peaks and Filling Troughs
Sharp peaks and deep troughs on the roof surface can compromise the integrity of the waterproofing membrane. These irregularities need to be addressed to create a smooth, even surface.
-
Blunting Sharp Peaks:
Use a grinder to blunt any sharp peaks on the surface. Sharp edges can puncture the waterproofing membrane, leading to leaks and membrane failure.
-
Filling Troughs and Holes:
Fill any troughs, holes, or depressions with polymer-modified mortar (PMM). PMM is a shrinkage less mixture of cement, sand, and polymers that provide flexibility and durability. This material is ideal for filling and levelling the surface, ensuring it is smooth and even.
Tip: For best results, apply a polymer slurry as bonding agent first then while it is tacky apply the PMM in required quantities and finish with a trowel. This will prevent cracking and ensure a strong, even fill.
-
Repairing Hairline Cracks & Corner Haunching
Hairline cracks, especially those wider than 0.5mm, need special attention. These cracks can allow water to seep through, compromising the waterproofing.
-
V-Grooving:
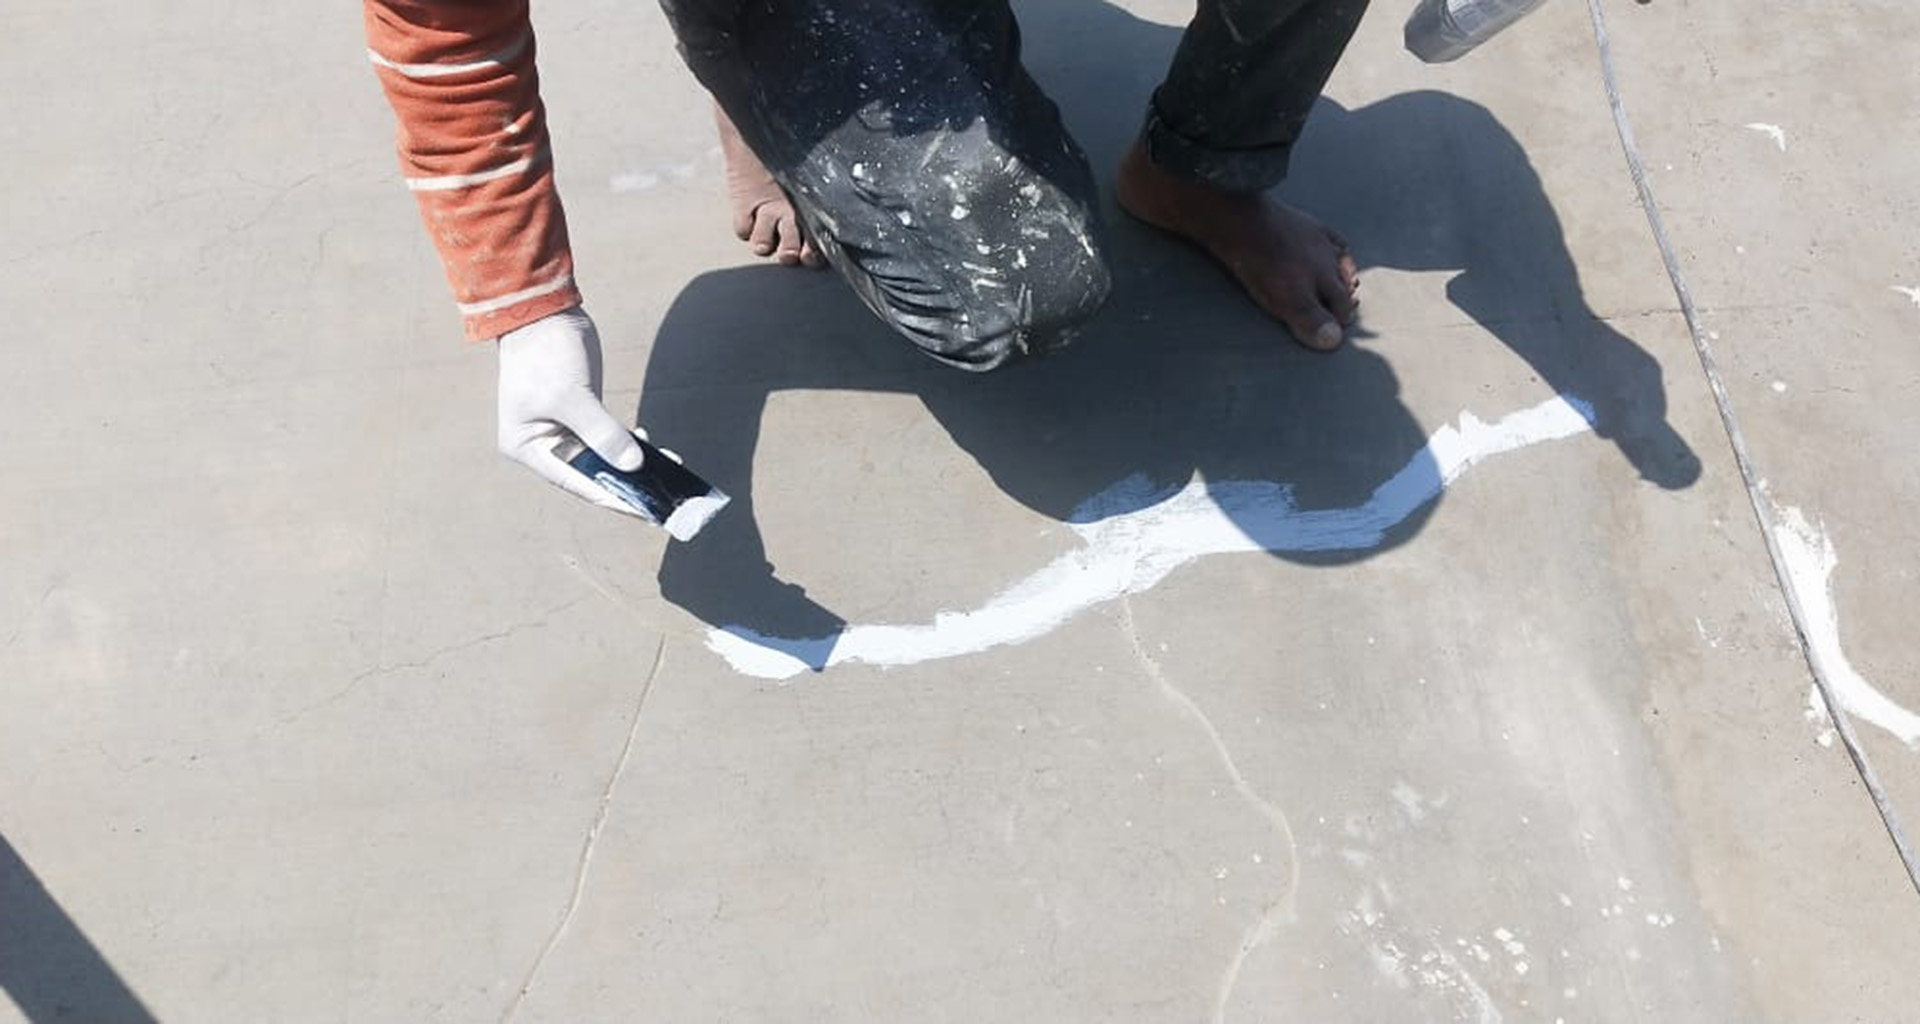
“V” Grooving of hairline cracks | © UniPro® Waterproofing
Start by creating a V-shaped groove along the length of the crack. This can be done using a chisel or an angle grinder with a suitable blade. The groove should be approximately 3mm wide and 2mm deep. This process opens up the crack and creates a larger surface area for the filler to adhere to.
-
Filling the Crack:
After grooving, fill the crack with either polymer-modified mortar (PMM) or a highly flexible sealant. The choice of filler depends on the size and location of the crack. PMM is suitable for larger cracks and structural areas, while flexible sealants are better for small, non-structural cracks.
-
Corners/Right-Angle Haunching/Coving
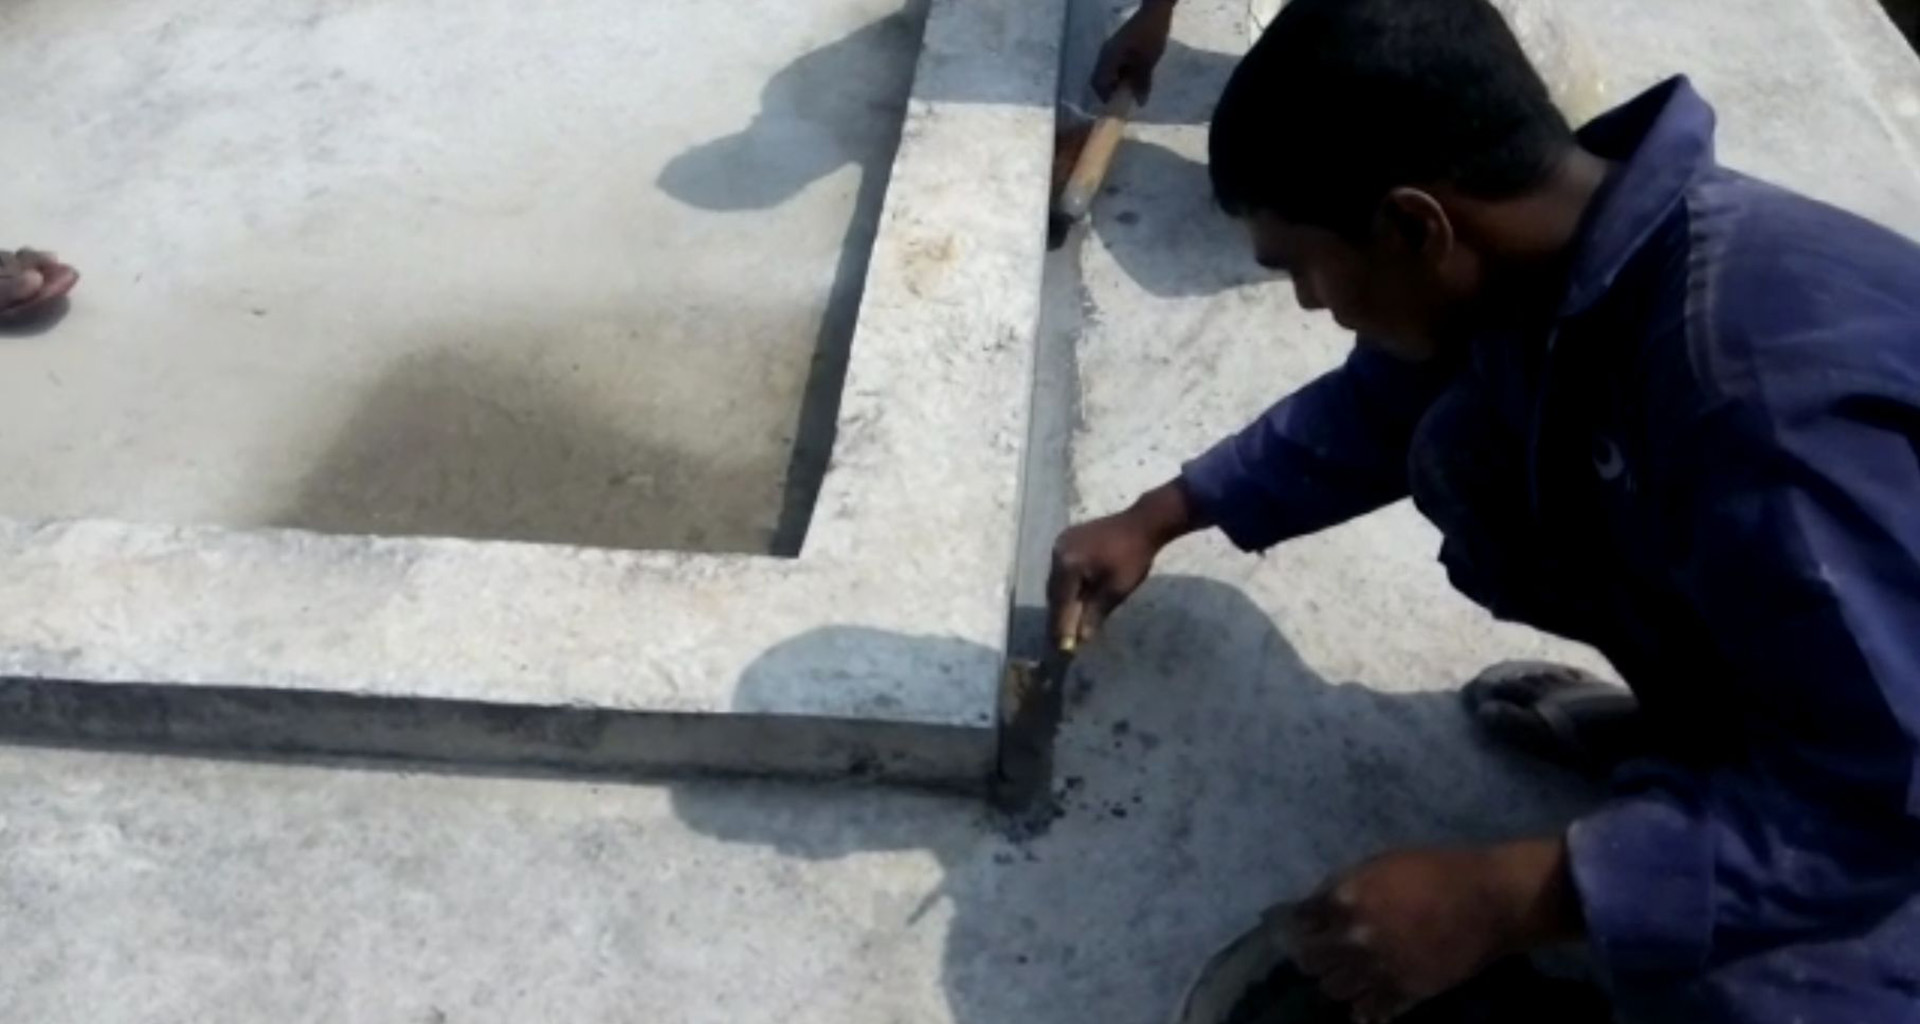
Right angle coving | © UniPro® Waterproofing
The right angles of parapet wall, upstanding beams etc should be haunched/coved using PMM and allowed to cure for a day.
Tip: Allow the filler to cure completely before proceeding. This ensures the crack is fully sealed and ready for waterproofing.
-
Ensuring the Surface is Completely Dry
Before applying the waterproofing membrane, it is crucial that the roof surface is completely dry. Any moisture trapped under the membrane can lead to blisters, bubbles, and ultimately, failure of the waterproofing system.
-
Drying Time:
Allow sufficient time for the roof to dry after completing all previous steps. Depending on the weather and conditions, this can take anywhere from a few hours to a couple of days.
-
Use of Moisture Meter:
If you are unsure whether the surface is completely dry, use a moisture meter to check. This tool can measure the moisture content in the surface material, ensuring it is below the recommended level for waterproofing application.
Tip: Avoid applying the waterproofing membrane if rain is expected within 24 hours. Moisture can easily get trapped during this time, leading to problems later on.
Proper surface preparation is the foundation of a successful waterproofing application. By following these detailed steps, you ensure that the roof surface is clean, smooth, and ready for the waterproofing membrane. Skipping or rushing through any of these steps can lead to poor adhesion, leaks, and premature failure of the waterproofing system.
Remember, the key to effective waterproofing is attention to detail and patience. Take the time to thoroughly prepare the surface, and your efforts will pay off in a durable, long-lasting waterproofing solution.
Do call us at the below mentioned customer care line in case you have a doubt with your waterproofing project.

